You want to develop in your Windows PC for Kubernetes so you can test your web application locally before deploying it to a managed Kubernetes cluster like Amazon Elastic Kubernetes Engine or Google Kubernetes Engine.
In that case, this is the guide for you. I will take through the steps so you can install Minikube with HyperV and at the end, we install Kubectl to be able to interact with our local Kubernetes cluster.
Download Minicube install
There are several methods to install Minikube, but I found it easiest to just download the Minikube installer from this url:
https://github.com/kubernetes/minikube/releases/latest/download/minikube-installer.exe
Install Minikube
Double click on the installer to install.
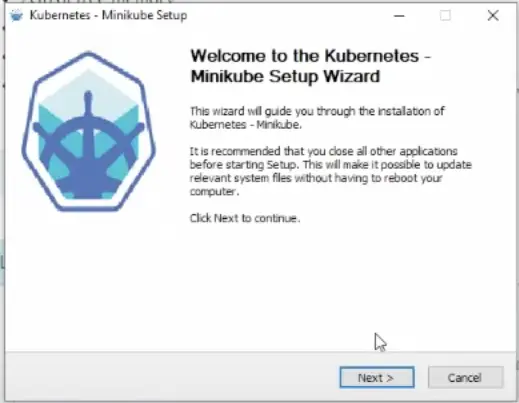
Click Next and accept the License Agreement.
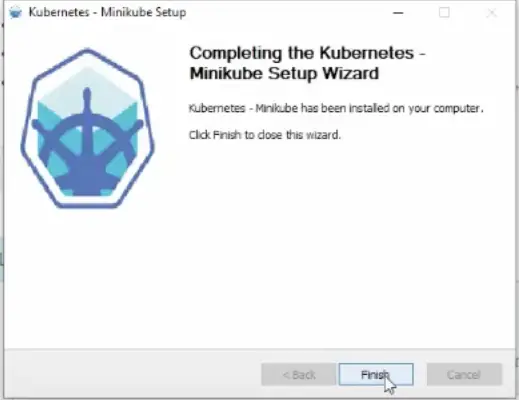
Once the installation is complete, click Finish.
Starting Minikube
Open a command prompt as an Administrator
Type:
minikube start
It will take sometime for minikube to run as it will download a VM image for minikube.
If it fails like below, that’s because the hyper-v driver is not properly enabled.
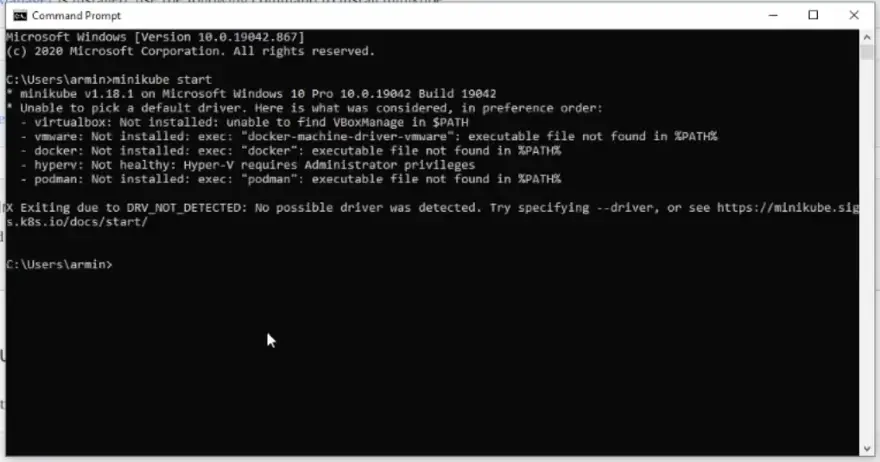
If you get an error saying DRV_NOT_DETECTED: no possible driver was detected, it means that minikube couldn’t find any drivers to start the VM that runs Kubernetes.
There are several options, for instance, at this stage we can install Docker Desktop for Windows, which would allow Kubernetes to run via Docker, and which already has HyperV enabled.
Or if VMWare or VirtualBox is installed minikube could use these.
In our case since Hyper-V is built-in inside Windows, for that reason we are going to complete the setup for Hyper-V using PowerShell.
Open a PowerShell as an Administrator and type the following inside the PowerShell:
Enable-WindowsOptionalFeature -Online -FeatureName Microsoft-Hyper-V -All
You will be asked to restart your computer.
After restarting your computer, test that you can start minikube using Hyper-V:
minikube start --driver=hyperv
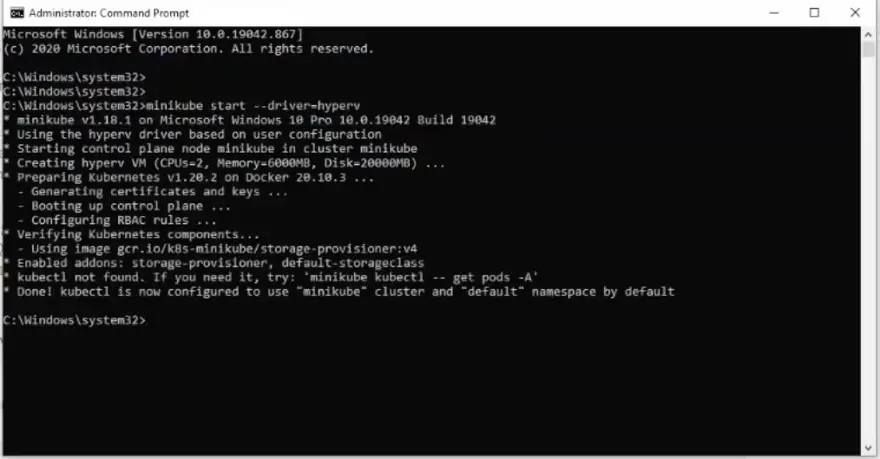
If you see an output similar to the above, it means that minikube was started successfully. Almost there, but not quite yet!
We still need to install kubectl to interact with our cluster.
For that, we are going to download kubectl command with curl.
But first, let’s find the folder path for the folder in which Minikube was installed. This is where we will save kubectl. This saves a bit of work as we don’t have to modify the PATH variable.
cd C:\Program Files\Kubernetes\Minikube
curl -LO "https://storage.googleapis.com/kubernetes-release/release/$(curl -s https://storage.googleapis.com/kubernetes-release/release/stable.txt)/bin/linux/amd64/kubectl"And there you have it. Kubectl is installed and accessible from any path.
Let’s try a couple of kubectl commands to ensure that our Minikube kubernetes cluster is up and running:
$ kubectl get nodes
NAME            STATUS    ROLES     AGE       VERSION
minikube        Ready     master    14m       v1.20.0
The kubectl get nodes commandreturns the list of nodes in your kubernets cluster. Because we are using Minikube we should only see one node here.
There are other kubectl commands you can try like
$ kubectl get pods
No resources found in current namespace
Because we haven’t yet deployed anything to Kubernetes kubectl get pods will not show any pod running in our mini cluster.
And that’s about it.
I hope you found this article useful, and see you again soon.
Happy Coding!