In this article, I will show you how you can create a scene in Blender, using the Python 2.93 Blender API.
We will create a simple scene with a plane, a cube, texture, a light source, and a camera. Then I will show you how you can rotate a virtual camera around a cube and use it to render from 3D to 2D from different viewpoints using the Blender API.
Creating a Python Script with Blender
The first thing to do is to open Blender and click on the scripting tab. And Then click New

Importing bpy Python package
To be able to use the Blender Python API you always need to import the bpy python library:
import bpyCreating a cube the hard way
I know that Blender already comes with a default cube, but since we want to learn Blender, better delete it, and create our own cube, right?
To create a cube there is more than one way of doing it. You can always do it the hard way, by specifying the vertices and faces of the cube using the from_pydata function. There is definitely value in learning how to use this function for more complex meshes of your own design. Here is how the code would look like:
import bpy

vertices=[(1,1,-1),(1,-1,-1),(-1,-1,-1),(-1,1,-1),(1,1,1),(1,-1,1),(-1,-1,1),(-1,1,1)]
edges=[]
faces=[(0,1,2,3),(4,5,6,7),(0,4,7,3),(0,1,5,4),(1,2,6,5),(7,6,2,3)]

new_mesh=bpy.data.meshes.new("new_mesh")
new_mesh.from_pydata(vertices, edges, faces)
new_mesh.update()

#make object from the mesh
new_object = bpy.data.objects.new("new_object", new_mesh)

view_layer=bpy.context.view_layer
view_layer.active_layer_collection.collection.objects.link(new_object)
If you are curious about how I wrote that code, I recommend you to watch the video below:
The bottom line is that you only want to create a cube once this way. When you are in a hurry… you want the easy way.
How to create a cube the easy way
To save time we can use the bpy.ops.mesh.primite_cube_add function to add a cube to our scene:
bpy.ops.mesh.primitive_cube_add()Without any arguments, the cube will be created with a size of 1, and in the origin (0,0,0)
To increase the size of the cube and move it we can use:
bpy.ops.mesh.primitive_cube_add(size=3, location=(0,0,1.5))
# save cube to variable
cube = bps.context.active_object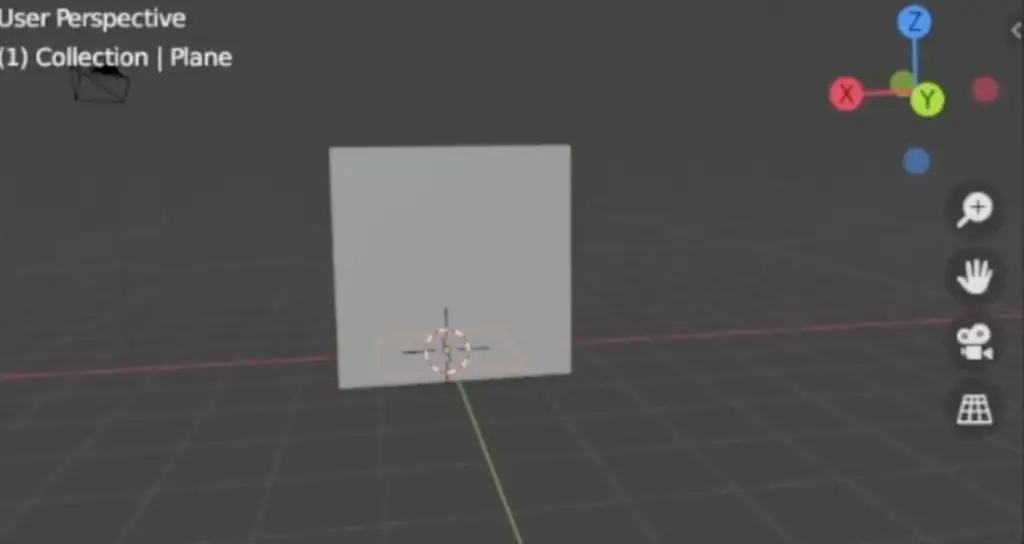
Let’s also add a plane to support our cube:
bpy.ops.mesh.primitive_cube_add(size=10)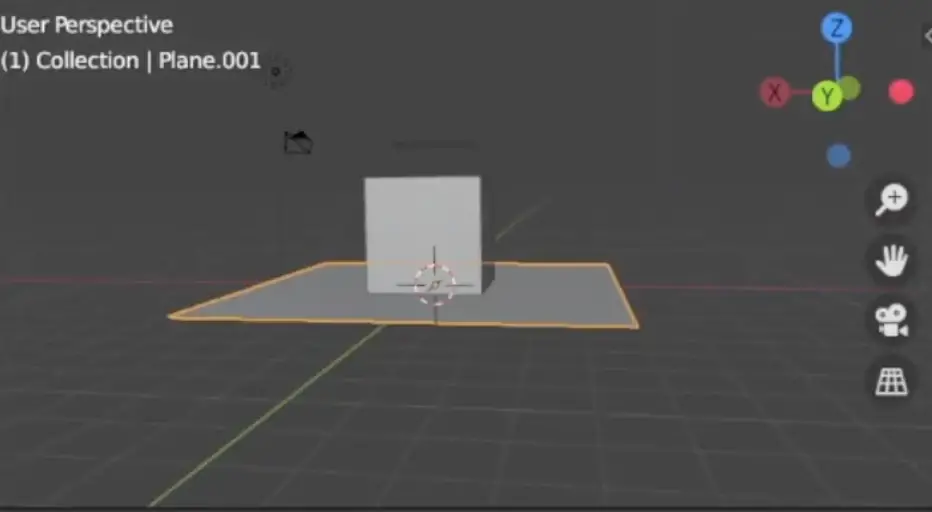
If we want to move the cube, we can also do that with:
cube.location[0]+=10This instruction moves the cube in the X-axis 10 units.
How to create a light source in Blender using Python
In order to render a scene, we need a light source. Without a light source, when rendering in Blender, everything will be dark.
To create a light source:
light_data = bpy.data.lights.new('light', type='POINT')
light = bpy.data.objects.new('light', light_data)
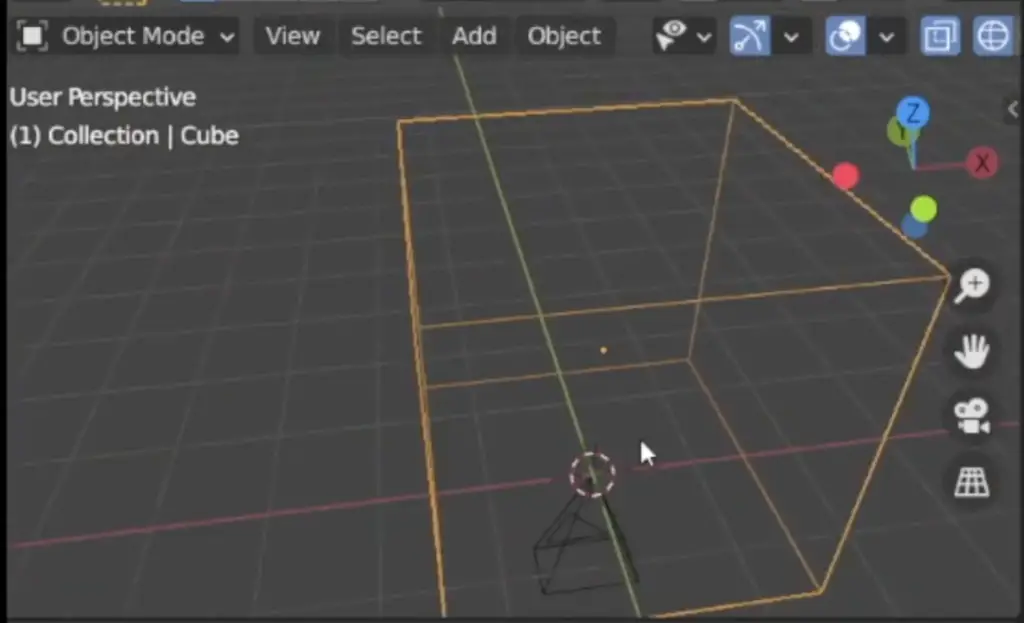
bpy.context.collections.objects.link(light)The code above creates a light source, but where is it?
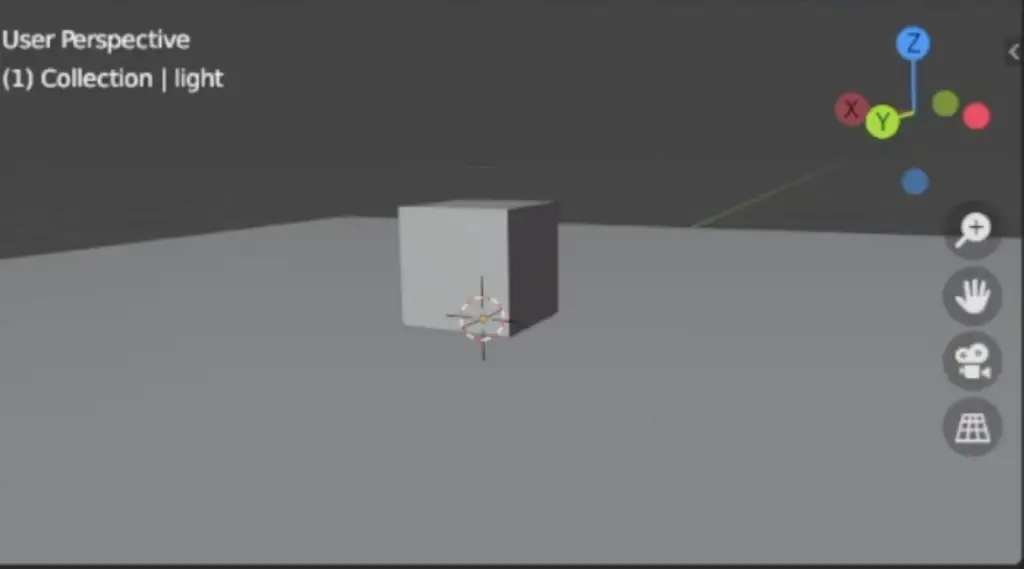
By default, the light source is in the origin, so it’s inside the cube!
Let’s change its location:
light.location = (3, 4, -5)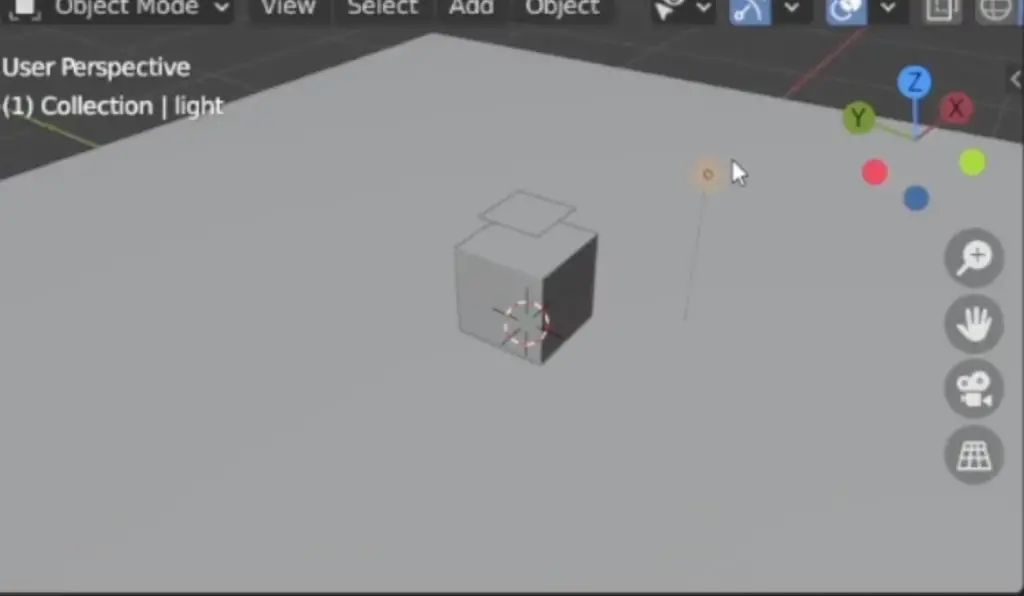
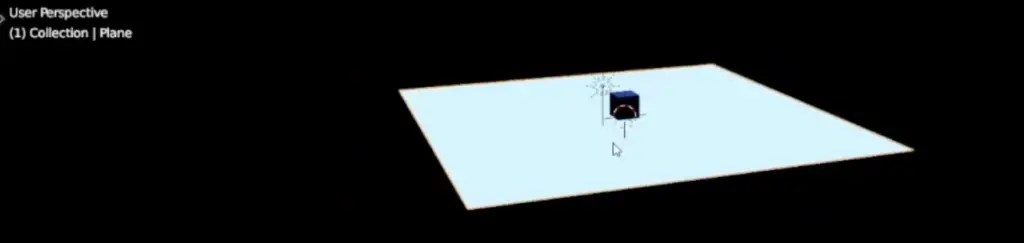
And now we can see the light source!
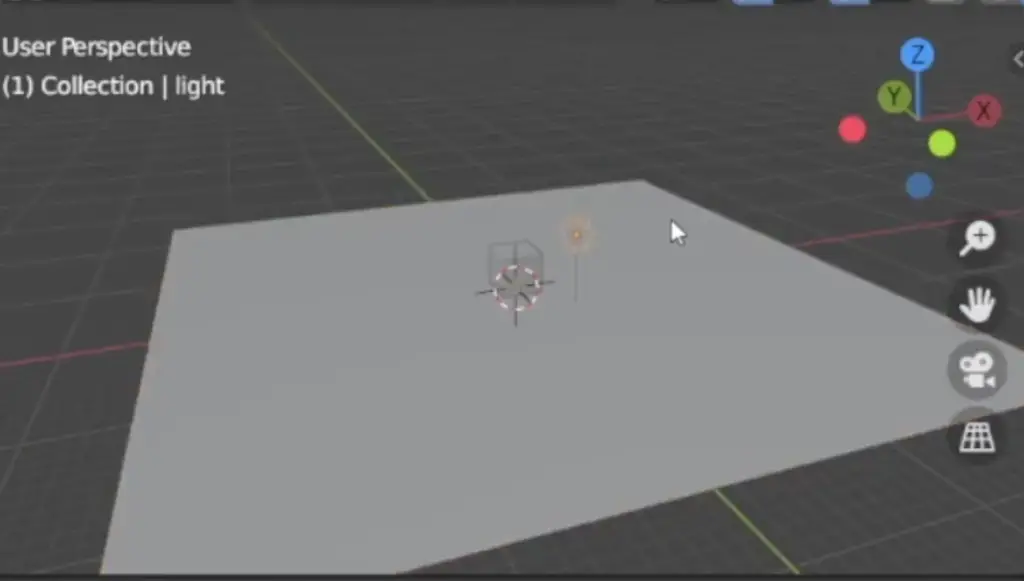
To see how powerful this light source is in Blender, we can render it:
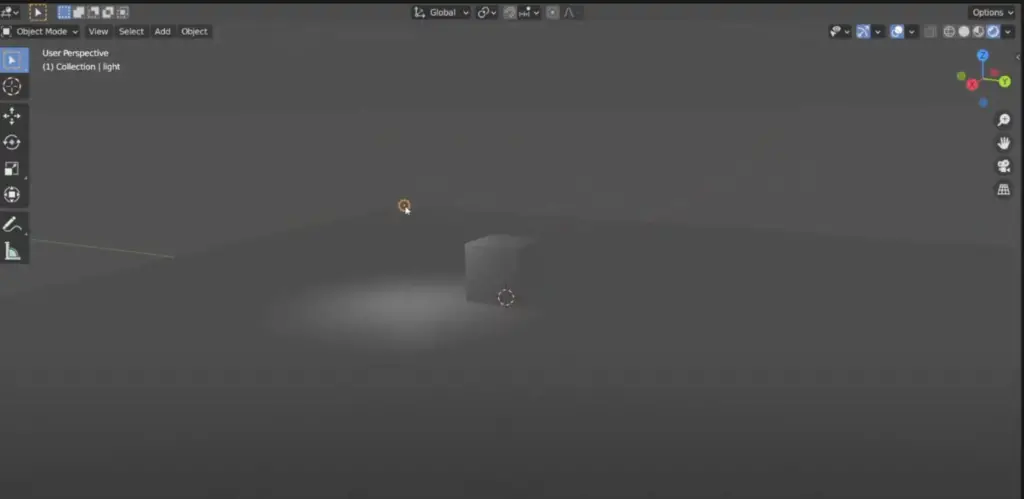
As you can see our light source is not that powerful.
The light source is of type POINT, which is similar to artificial light. To control the power of the light source, we set the intensity in watts:
light.data.energy=200.0There are more types of lights. If you want a more powerful light, similar to the sun, instead of creating a light as of type POINT, we create a light as type SUN:
light_data = bpy.data.lights.new('light', type='SUN')In this case, the intensity of the light source is not measured in watts, but instead, its measured in watts per meter squared, but the property name is still called energy:
light.data.energy=200Even though we are using the same energy value as the POINT light source, the SUN light source is much more powerful.
There are more types of light source, like for example a SPOT and an AREA.
You can find more information in the Blender documentation:
https://docs.blender.org/manual/en/latest/render/lights/light_object.html#light-objects
How to create a Camera in Blender using Python
Without a camera, it is not possible to render a scene from 3D to 2D. So let’s create a camera:
# we first create the camera object
cam_data = bpy.data.cameras.new('camera')
cam = bpy.data.objects.new('camera', cam_data)
bpy.context.collection.objects.link(cam)
# add camera to scene
scene = bpy.context.scene
scene.camera=cam
Once again, by default the camera is centered in the origin:
To set its location is as easy as before:
cam.location=(25, -3, 20)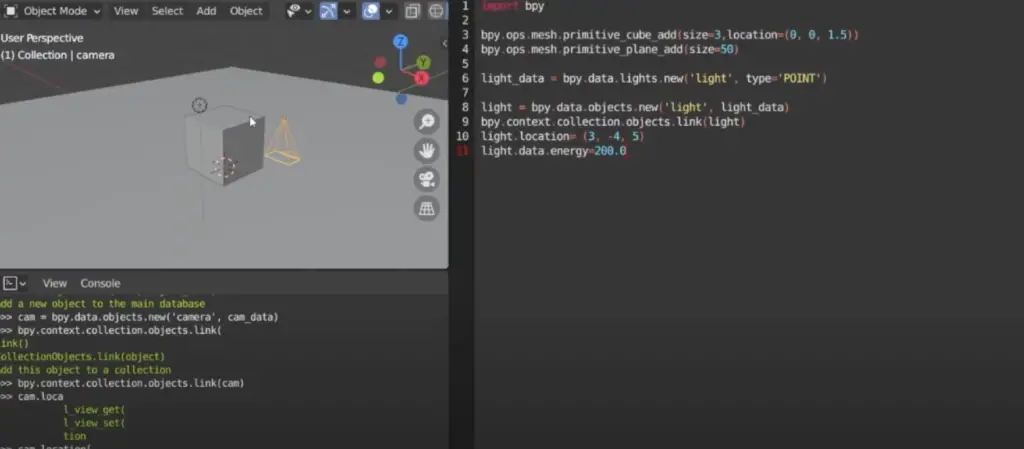
We just have one problem. The camera is pointing downwards, and the view of the cube is not great. We will resolve that problem later.
For now, we are happy enough, to have created a scene with a camera, a light source, and a camera!
How to create and assign a material using Python in Blender
The next step is to create and assign a material to the cube.
To create a new material:
# create material
mat = bpy.data.materials.new(name='Material')
To assign a material:
cube.data.materials.append(mat)We specify use_nodes=True to enable the node’s functionality in Blender:
mat.use_nodes=TrueWith nodes in Blender, you can create very complex materials, through the composition of multiple nodes in a tree that applies some operation on a material using a variety of inputs, which can be routed from one node to another.
It is very powerful but also can get very complex. By default, a new material created in Blender comes with a Principled BSDF shader node and a Material Output node.
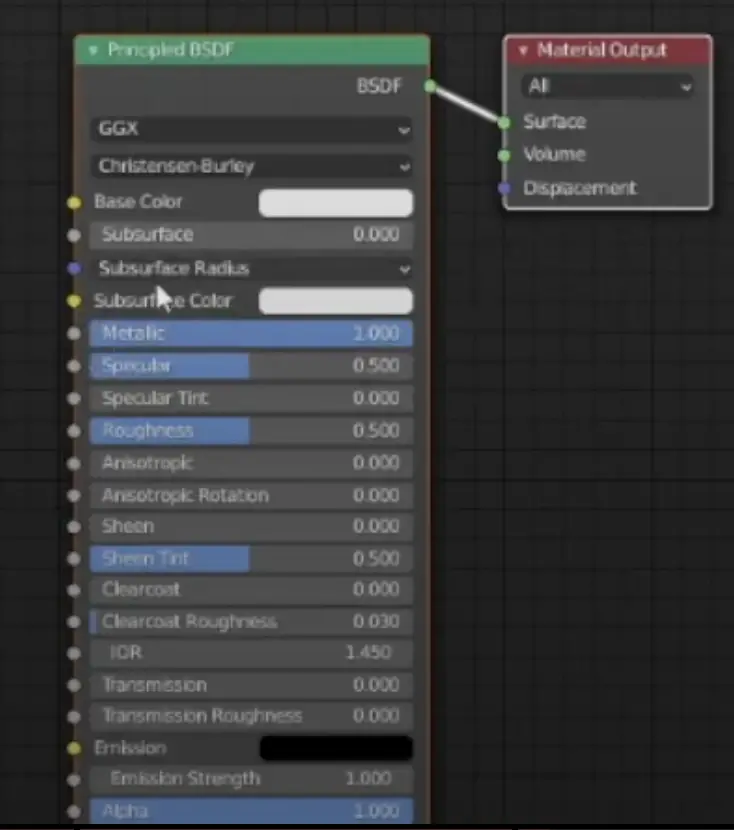
The Principled BSDF shader node allows the creation of many different types of materials, all in one shader node: glass, metal, plastic, jelly, and many more.
If you want to find out more about this amazing shader node, I recommend you to watch this in-depth video by the Blender Guru:
When you are done, come back here and we can continue.
How to configure the Principled BSDF node using Python
We will be using the Principled BSDF node to make our cube look like a metallic mirror:
# let's create a variable to store our list of nodes
mat_nodes = mat.node_tree.nodes

# let's set the metallic to 1.0
mat_nodes['Principled BSDF'].inputs['Metallic'].default_value=1.0
mat_nodes['Principled BSDF'].inputs['Roughness'].default_value=0.0
The roughness property controls how much reflection occurs. I have set it to 0, which means all light is reflected:
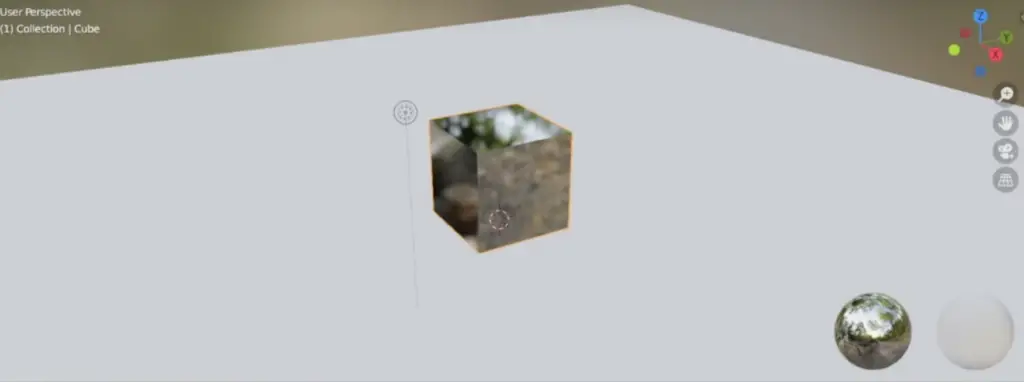
We can change the base color, and make it less reflective:
mat_nodes['Principled BSDF'].inputs['Base Color'].default_value=(0.05, 0.0185, 0.8, 1.0)
mat_nodes['Principled BSDF'].inputs['Roughness'].default_value=0.167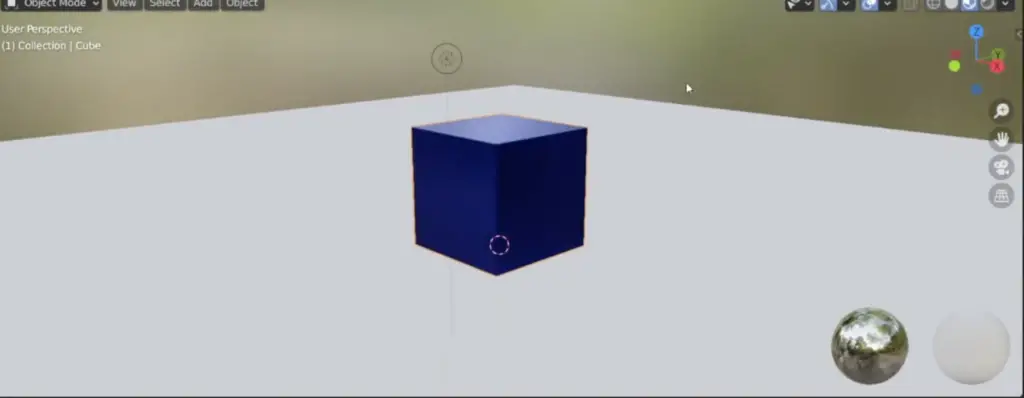
Just in case you are wondering how I got the values for the color, I used the Blender UI before I coded.
Let’s also add a material to the plane:
# create material
mat = bpy.data.materials.new(name='AnotherMaterial')
#assign material to plane
plane.data.materials.append(mat)
mat.use_nodes=True
# let's create a variable to store our list of nodes
mat_nodes = mat.node_tree.nodes

mat_nodes['Principled BSDF'].inputs['Base Color'].default_value=(0.010, 0.0065, 0.8, 1.0)
mat_nodes['Principled BSDF'].inputs['Roughness'].default_value=0.0
Now we have a blue plane. Not looking great, but not too shabby either.
Ok, this is not going to be something worthy yet to share on the Blender Reddit channel. But we have to start somewhere!
How to render and save scenes to an image using Blender Python API
Now that we have managed to create a scene in Blender using Python, now it is time to render it and save it to an image.
Why would you do that? There are many use cases. One use-case that I can think of is to generate images for synthetic datasets to be used in Deep Learning. Blender is mentioned in a number of publications in machine vision because it is very powerful and it can generate photo-realistic images.
Let’s generate an image and see how it looks like:
scene = bpy.context.scene
scene.render.image_settings.file_format='PNG'
scene.render.filepath='/tmp/blender.png'
bpy.ops.render.render(write_still=1)
What we get is rather strange:
The reason for this odd-looking image is because the camera that we added to our scene is perfectly aligned with the Z-Axis, looking downwards. And what you see in black, is not the cube, but the Blender precipice. The Cube somewhere to the left-hand side, but out of the camera view.
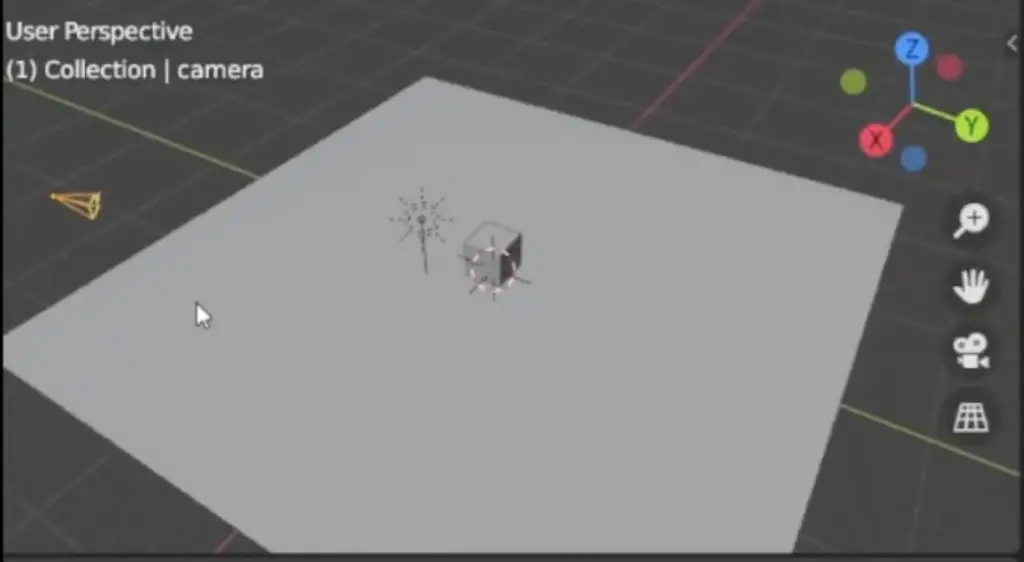
What we want is the camera looking down, at an angle, pointing towards the cube. We can easily rotate the camera until it points to the cube.
cam.rotation_euler(0.9, 0.0, 1.1)Where 0.9, 0.0, and 1.1 is an angle in radians on the x, y, and z axis. Now we can see that the camera is pointing towards the cube:
When we do the rendering again now we get:
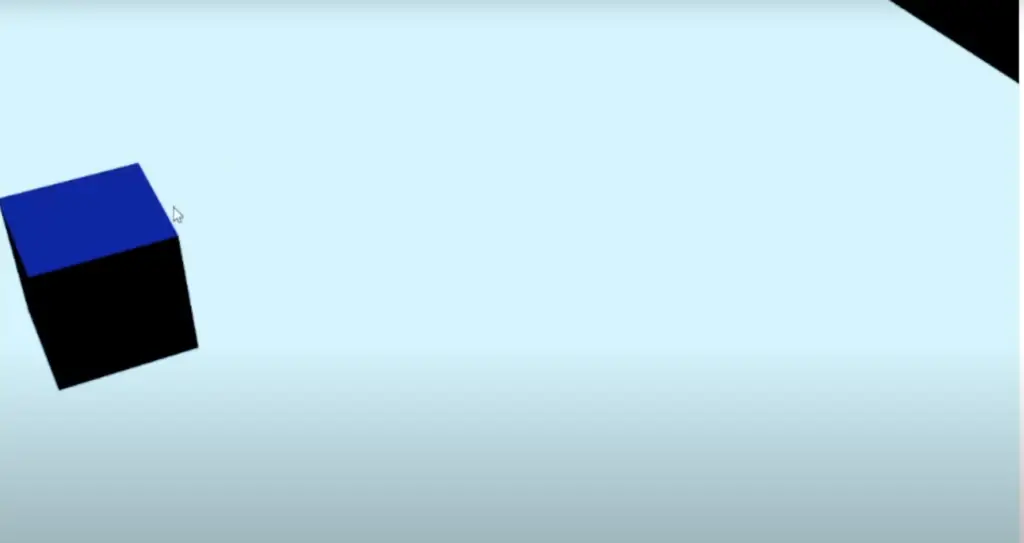
Much better, but still not great. We can further align the camera, but there is a better way!
Object tracking with a Camera in Blender with Python
To add a constraint to track an object using the camera is as simple as:
constraint = cam.constraints.new(type='TRACK_TO')
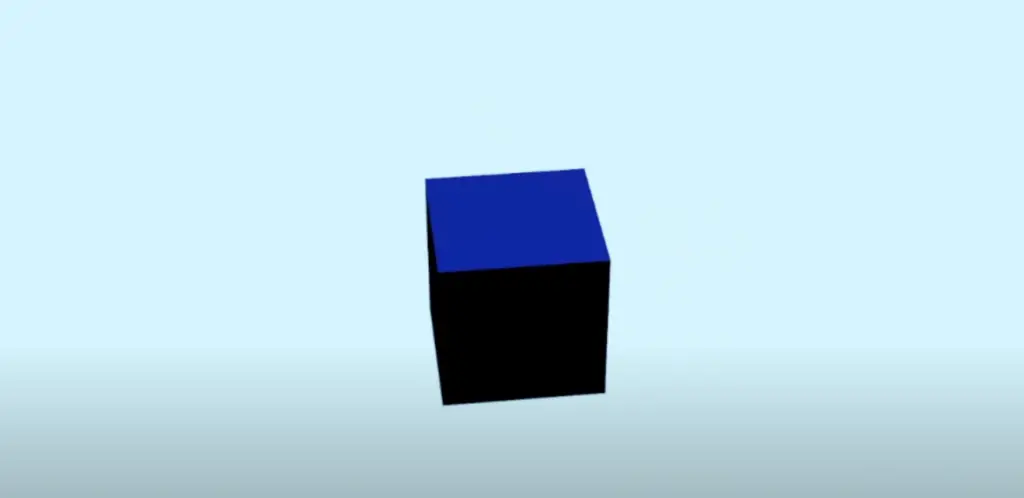
constraint.target=cubeAnd that’s it, the camera now will look towards the cube, no matter where it’s located.
A new rendering of the cube generates the following image of the cube:
How to rotate a camera around the cube using Python in Blender
What we want to do next is to generate multiple images by rotating the camera 360 degrees around the cube. It is not as simple as it seems, as the Blender API has changed and it is not as straightforward to rotate a camera around another object. But there is still an easy way!
To rotate the camera around an object, we just have to translate its location property. Because we already have a constraint in the camera to look at the cube, wherever we locate the camera, it will be looking towards the cube.
Thanks to stackoverflow, I found a nice ready-to-use function to rotate a point around an axis away from the camera:
import numpy as np
import math

def rotation_matrix(axis, theta):
    """
    Return the rotation matrix associated with counterclockwise rotation about
    the given axis by theta radians.
    """
    axis = np.asarray(axis)
    axis = axis / math.sqrt(np.dot(axis, axis))
    a = math.cos(theta / 2.0)
    b, c, d = -axis * math.sin(theta / 2.0)
    aa, bb, cc, dd = a * a, b * b, c * c, d * d
    bc, ad, ac, ab, bd, cd = b * c, a * d, a * c, a * b, b * d, c * d
    return np.array([[aa + bb - cc - dd, 2 * (bc + ad), 2 * (bd - ac)],
                     [2 * (bc - ad), aa + cc - bb - dd, 2 * (cd + ab)],
                     [2 * (bd + ac), 2 * (cd - ab), aa + dd - bb - cc]])
Using this function we can define another function to rotate a point:
def rotate(point, angle_degrees, axis=(0,1,0)):
    theta_degrees = angle_degrees
    theta_radians = math.radians(theta_degrees)

    rotated_point = np.dot(rotation_matrix(axis, theta_radians), point)
    return rotated_point
And then we can change the code to render an image as follows:
for angle in range(0, 360, 10):
    cam_location = cam.location
    new_cam_location = rotate(cam_location, 10, axis=(0, 0, 1)
    scene.render.filepath=f'/tmp/blender_{angle}.png'
What we are doing is now rotation the camera 10 degrees along the axis passing in the origin(0,0,0) parallel to the Z-axis. Each time we rotate the camera we take a picture. In this way, we are taking multiple 2D pictures around a 3D object, in this case, the cube, but it could be any object.
How to simulate Rigid body Physics with Blender and Python
Now that we have learned how to create and work with camera objects in Blender, adding a light source, and we have learned how to render a 3D Object by taking 360 degrees pictures, let’s do something a bit more complicated.
Blender can do amazing things, including Physics Simulation. Let’s render a collection of the famous Blender Suzanne monkey drop them to the ground and film the result. Of course we will be doing all of this in Python and using all of the skills we have just acquired!
Blender can do so many amazing things.
If what you have seen is not enough, perhaps you will like to have a go at creating and animating a spinning Donut in Blender, using mainly mathematics and Python? Then check out this article:
Until then, happy coding!
RESOURCES
Blender Python API Playlist
Github Source code: render_360_cube_with_material.py