In this article I am going to show you how you can try object detection on the Raspberry PI using a PI Camera, the easy way, with docker!
These are the main steps you need to complete:
- Install and configure the PI Camera if you haven’t yet. See this separate guide I created to install it:
How to Install a Raspberry PI Camera - Install Docker(Instructions below)
- Download github repository at https://github.com/armindocachada/raspberrypi-docker-tensorflow-opencv and follow the setup instructions
- Setup X11 forwarding to camera
- Download model from model Zoo
- Run example
Installing Docker
Installing Docker in the Raspberry PI is very easy. But before you do that, it is always best that you get all the latest updates on your Raspberry PI. So let’s do that first:
Update all your packages in the PI:
$ sudo apt update
...
$ sudo apt upgrade
Get a coffee, because this is going to take a while. When it is all finished, do a reboot:
$ sudo rebootAnd now we are ready to install docker:
$ curl -fsSL get.docker.com -o get-docker.sh && sh get-docker.shAdd your user to the Docker Group
sudo usermod -aG docker $(whoami)And let’s reboot again!
$ sudo rebootAfter reboot, double check that docker is really installed:
$ docker version

Client: Docker Engine - Community
 Version:           19.03.13
 API version:       1.40
 Go version:        go1.13.15
 Git commit:        4484c46
 Built:             Wed Sep 16 17:07:02 2020
 OS/Arch:           linux/arm
 Experimental:      false

Server: Docker Engine - Community
 Engine:
  Version:          19.03.13
  API version:      1.40 (minimum version 1.12)
 ...
And that’s it. You have docker installed.
Installing docker-compose on the Raspberry PI
To get docker-compose up and running we will need python 3 and pip. So let’s install it first:
sudo apt update
sudo apt install python3 python3-pip
Now we can install docker-compose with pip:
pip3 install docker-composeTest that docker-compose is now available:
$ docker-compose versiondocker-compose version 1.26.2, build unknown
docker-py version: 4.3.0
CPython version: 3.7.3
OpenSSL version: OpenSSL 1.1.1d 10 Sep 2019
Raspberry PI Camera Setup
In order to try Tensorflow object detection in real time on the Raspberry PI we need to have a camera installed on the PI. I will assume that you have already done that. If you haven’t, don’t worry I have created a nice guide on how you can install your Raspberry PI Camera:
Raspberry PI Camera Tutorial – How to install a Raspberry PI Camera
Downloading Github Repository
Let’s clone the raspberrypi-docker-tensorflow-opencv repository from inside your home directory:
git clone https://github.com/armindocachada/raspberrypi-docker-tensorflow-opencvThe project we have just downloaded contains all the files needed to run Object Detection with Tensorflow 2 using the Raspberry PI Camera.
Starting the camera docker container
To start a docker container containing all the necessary dependencies to run object detection with Tensorflow 2 and also with access to the Raspberry PI camera execute the following:
$ cd raspberrypi-docker-tensorflow-opencv
$ docker-compose up -d
....
Creating camera ... done
It might take a while as it will download the docker container from docker hub. Get a cup of coffee and it will finish downloading before you finish your coffee.
Enabling access to X11 Server
The camera docker container needs to connect to the X11 server running on the Raspberry PI. We need to allow it to do so. Open a terminal window and type:
$ xhost +:localTesting the Raspberry PI Camera
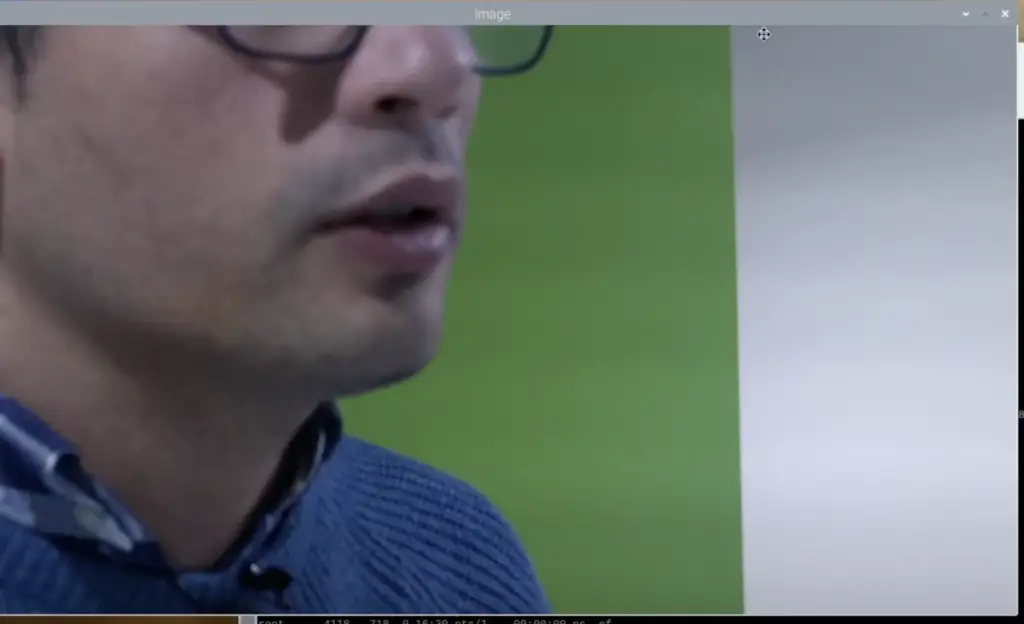
To test that the docker container is able to open a window with a view of the camera let’s try python example3.py:
$ docker exec -it camera bash
$ cd /app/
$ python3 example3.py
If your camera is working then you should be able to see a window similar to the one below:
Testing Object Detection
Now that we know that the camera is working we can test object detection.
To start object detection on the raspberry pi open a terminal again.
$ docker exec -it camera bash
$ root@raspberrypi:/tensorflow/models/research#  cd /app && python3 object_detection_camera.py

Preparing to download tensorflow model ssd_mobilenet_v2_320x320_coco17_tpu-8.tar.tar.gz
Is file downloaded? False
object_detection_camera.py:156:
  downloadModel(MODEL_URL)


Elapsed time: 172.93311309814453s
If all goes well you should see a window popup with a view of the camera and object detection should be working.
Enjoy!