I run Docker for everything in the Raspberry PI, so I wanted to be able to access the PI camera inside Docker. Not as straightforward as I thought, so to help anyone who might want to do the same, I am documenting all the steps that I had to follow to get the PI Camera to work inside Docker in the Raspberry PI.
Setting up Rsync
In order to copy any code changes from my Macbook PRO directly into the Raspberry PI, I set up a Rsync job. I do this to make sure that I can develop as efficiently as possible. Fswatch is used here to listen for local file changes.
$ alias run_rsync='rsync -e "ssh" -azP --exclude ".*/" --exclude "*.log" --exclude "**/*.mp4" --exclude "downloads/*" --exclude "node_modules/*" --exclude ".*" --exclude "**/*.gz" --exclude "tmp/" ~/projects/raspberrypi-docker-tensorflow-opencv  <my username>@raspberrypi:/home/<my username>/'
$ run_rsync; fswatch -o . | while read f; do run_rsync; done;
In the script above you will notice a lot of exclude parameters. This is just to stop every single file in my folder from being copied to the Raspberry PI without really being needed.
Once the Rsync job is working, it is time to open a terminal in the Raspberry PI to start our Docker container.
$ cd raspberrypi-docker-tensorflow-opencv
$ docker-compose up -d
...
You should see a docker container called camera, running. Use the following command to enter the docker container:
$ docker exec -it camera bash
Before we start using OpenCV, let’s do a quick test to ensure that OpenCV is working, i.e. that you can import it from Python and that the version number of OpenCV is what we expect:
$ python3
>>> import cv2
>>> cv2.__version__
"4.5.0"
Allowing the docker container to access Raspivid and Raspistill
In order to access Raspivid and Raspistill, we need to add a volume mapping in the docker-compose.
volumes:
- /opt/vc: /opt/vc
And we need to define the LD_LIBRARY_PATH environment variable for the Raspberry PI camera API:
environment:
- LD_LIBRARY_PATH: /opt/vc/lib
Installing the Picamera Python module
Restart the docker container and now it is time to try install the picamerapython module. I say try because it will fail. But I want you to see it fail so if you gets this error, you are not surprised.
$ docker exec -it camera bash
$ pip3 install picamera
....
ValueError: This system does not appear to be a Raspberry Pi
In order to fix that error you need to run the following first:
$ export READTHEDOCS=true
$ pip3 install picamera
...
Successfully installed picamera-1.13
Seems like the flag READTHEDOCS is all that is needed to prevent the python library from failing the install.
Next, I need to allow the docker container to access the /dev/vchiq device, which is used by the Pi to interface with the camera(don’t ask me too much about it, I am not a Kernel geek).
In order to grant access to all users to the Raspberry PI camera we need to add the following file in the Raspberry PI:
/etc/udev/rules.d/99-camera.rules
SUBSYSTEM=="vchiq",MODE="0666"
All the docker containers will have access to the Raspberry PI camera and we can add the following to the docker-compose.yaml:
devices:
- "/dev/vchiq:/dev/vchiq"
privileged: true
Since we are here, we might as well update the docker-compose.yaml to map the python folder so we can run our python code, directly from inside the docker container:
volumes:
        ...
        - ./python:/app
Now the docker-compose should like this:
version: "3.7"
services:
  camera:
     container_name: camera
     build:
        context: .
        dockerfile: Dockerfile
     network_mode: host
     restart: always
     volumes:
        - /opt/vc:/opt/vc
        - ./python:/app
     environment:
        LD_LIBRARY_PATH: /opt/vc/lib
        DISPLAY:
     devices:
        - "/dev/vchiq:/dev/vchiq"
     privileged: true
Using the Picamera API to take a picture from inside the docker container
Now we are ready to take a picture from the PI Camera using the picameraAPI:
example.py
from time import sleep
from picamera import PiCamera
camera = PiCamera()
camera.resolution = (1024, 768)
camera.start_preview()
sleep(2)
camera.capture('output.jpg')
exit()
Run the above file from inside the docker container:
$ cd /app
$ python3 example2.py
If no errors, then you should see an image file named output.jpg! That will be the first proof that your docker container can interface with the PI camera.
Allowing OpenCV to use my display
Now that we are sure that we can access the PI camera from inside the docker container, it is time to allow OpenCV to use my display whenever it needs to open a video window.
Let’s add the following volume mapping to the docker-compose.yaml
- /tmp/.X11-unix:/tmp/.X11-unixYou will also need to set a DISPLAY variable whenever you want to run OpenCV:
export DISPLAY=:10.0Note that the value you set for DISPLAY will vary.
The above is not enough to access the PI Display. You will need to give permissions as well to the Docker container to use the DISPLAY. You can simply run the following from within a terminal in the Pi:
$ xhost +local:Now let’s be optimistic, shall we? Let’s assume that your OpenCV has been compiled with GTK+ 2.x support. In that case, you should be happy because now you are ready to try OpenCV. In my case, as soon as I tried to run the following example:
# import the necessary packages
from picamera.array import PiRGBArray
from picamera import PiCamera
import time
import cv2
# initialize the camera and grab a reference to the raw camera capture
camera = PiCamera()
rawCapture = PiRGBArray(camera)
# allow the camera to warmup
time.sleep(0.1)
# grab an image from the camera
camera.capture(rawCapture, format="bgr")
image = rawCapture.array
# display the image on screen and wait for a keypress
cv2.imshow("Image", image)
cv2.waitKey(0)
I got:
OpenCV Error: Unspecified error (The function is not implemented. Rebuild the library with Windows, GTK+ 2.x or Carbon support. If you are on Ubuntu or Debian, install libgtk2.0-dev and pkg-config, then re-run cmake or configure script) in cvNamedWindow, file /home/nick/.Apps/opencv/modules/highgui/src/window.cpp, line 516
terminate called after throwing an instance of 'cv::Exception'
Oh… this is bad news. I have to recompile OpenCV, which takes hours in the PI and I need to add an extra flag for it to include GTK. Of course, I also need to ensure that the required libraries are available before I start the compilation:
apt-get -y install libgtk2.0-devEnsure also that when you recompile OpenCV your call to cmake has the following flag switched on:
WITH_GTK_ON=ON
After OpenCV recompiles we can re-run the sample Python code above:
$ python example.pyAnd voila, we get a window popup and a snapshot of whatever our camera is seeing.
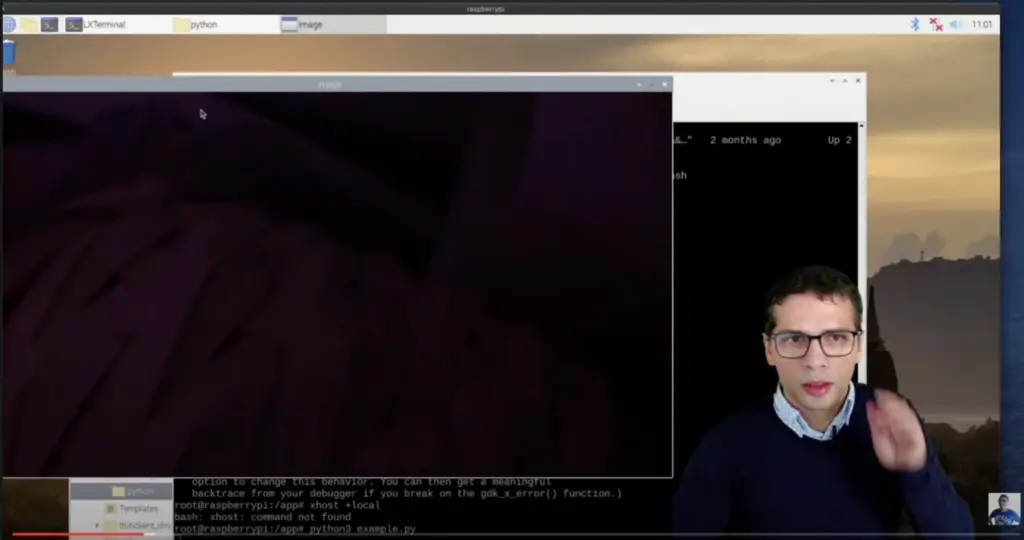
I know it is very dark the image, but that is because my PI camera is in a darkroom. It is getting late as I spent a lot of time waiting for OpenCV to compile.
This is it! We are able to do something with OpenCV inside Docker on a Raspberry PI.
Stay tuned for more. I have much bigger plans than just displaying an image with OpenCV!
If you can’t wait until my next article in this series, why not subscribe to my Youtube Channel and see how I am getting on with this build? What are you waiting for?
RESOURCES:
https://github.com/armindocachada/raspberrypi-docker-tensorflow-opencv
https://www.losant.com/blog/how-to-access-the-raspberry-pi-camera-in-docker