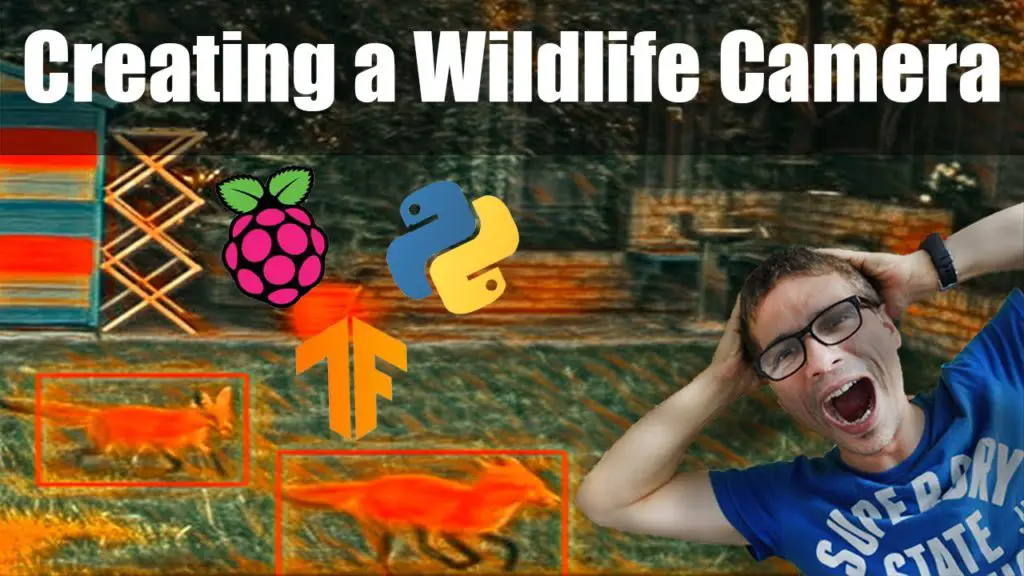
So, I have created a Raspberry PI wildlife camera, but it has a big cat issue! Or shall I say, a big dog issue?!
The Tensorflow model I am using mistakes everything for a dog.
A fox, a cat, a person, and some sunshine can all be mistaken for a dog.
So I have to do something about it, as otherwise, my wildlife camera, to put it mildly, is not very useful.
I need to train my own Tensoflow object detection model using my own images and annotations.
This is normally a lot of work as it takes time to gather a decent-sized dataset, with good quality annotations and it takes time to convert it to the right format.
But not anymore! Intel has made an open-source tool called CVAT which makes this work a breeze.
CVAT which is the short version of the Computer Vision Annotation Tool, allows you to annotate videos and images, with tracking. Or it can use object detection models to do the annotation automatically.
Annotating images is hard enough, and annotating videos is even harder.
But also take into account the effort of converting a dataset to the correct format, which varies depending on the machine learning framework that you decide to use.
In my case since I am using Tensorflow, I want to convert the annotated dataset to Tfrecords format.
But No need to worry anymore! CVAT also automates this work for us.
Installing CVAT
To install CVAT, the easiest is to use Docker. For that, you need to have docker installed on your computer. If you don’t know how to install docker, no need to worry. The CVAT website has instructions on how to do that, for different operating systems.
To see how to install and use the CVAT tool to create your own image datasets, checkout my latest video:
And if you would like to watch my full series on how I created a wildlife camera using Raspberry PI: