Salesforce Web-to-Lead-Form is a very simple, but very effective way to capture your Website visitors’ information and send it to your Salesforce account as a new lead.
In this tutorial, I’ll show you how to do this. We will be using the most famous CMS (WordPress) and the most famous CRM (Salesforce) as an example.
Let’s start!
Salesforce
Log in to your Salesforce account. If you do not have one yet, get a trial version or the Developer Edition (FREE!)
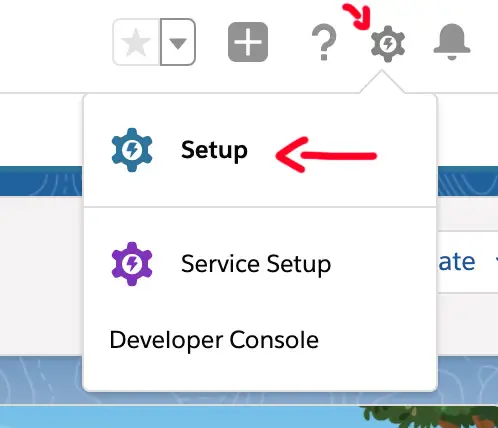
Now that you’re signed in, click on the Gear Icon in the upper right corner. Go to “Setup”. Perform a quick search for Web-to-Lead and click on it.
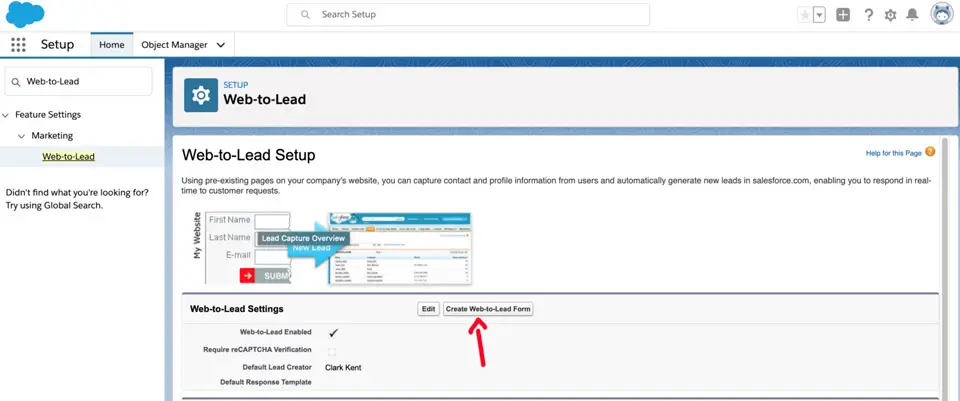
Click Create Web-to-Lead-Form
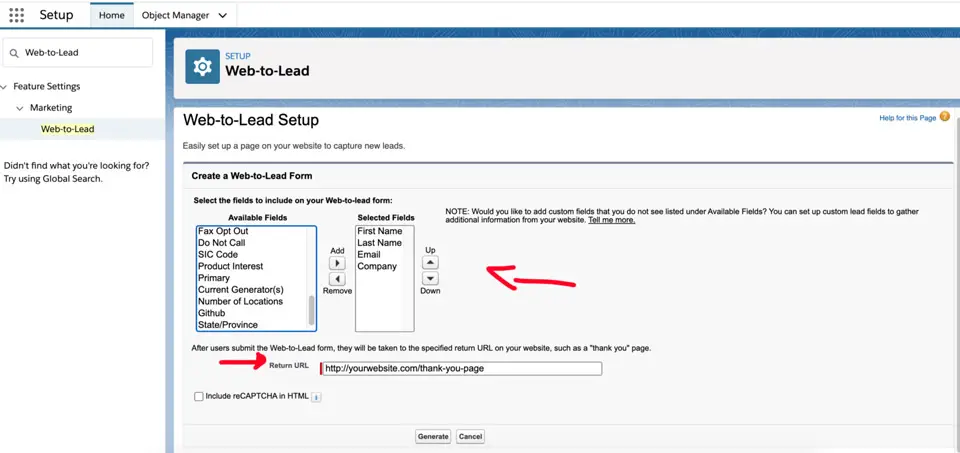
Select the fields you want to include in your Web-to-lead form.
Enter your Return Url. After submitting the form, your visitors will be redirected to this page. We will create it in the next steps.
Copy the HTML code and paste it into your favorite text editor. You will need it in the next steps.
Click on Finished.
And that is it! Now, it’s time to go to WordPress.
WordPress
Log in to your WordPress admin area. (e.g.: “https://yourwebsite.com/wp-admin” and create a new page or post.
Add a Custom Html Block and insert the Web-to-Lead-Form code generated by Salesforce (you saved it, remember?). You have the option to preview the result.
Click Publish (or Update if the page is already published).
Let´s test it out!
Now, all you have to do is fill the form, and the data should be sent to Salesforce as a new lead. You can find these records on the Leads tab (Salesforce Dashboard).
After submitting the form, your visitors will be redirected to the url (Return URL) you chose when creating the form. This might be your “thank you” page.
Give it a try!
Thank’s a lot!