[et_pb_section fb_built=”1″ _builder_version=”4.7.7″ _module_preset=”default” custom_margin=”0px||0px||false|false” custom_padding=”0px||0px||false|false” hover_enabled=”0″ sticky_enabled=”0″][et_pb_row _builder_version=”4.7.7″ _module_preset=”default”][et_pb_column _builder_version=”4.7.7″ _module_preset=”default” type=”4_4″][et_pb_image src=”https://spltech.co.uk/wp-content/uploads/2020/05/google_cloud-wordpress.jpg” _builder_version=”4.7.7″ _module_preset=”default” hover_enabled=”0″ sticky_enabled=”0″ title_text=”google_cloud-wordpress”][/et_pb_image][/et_pb_column][/et_pb_row][/et_pb_section][et_pb_section fb_built=”1″ admin_label=”section” _builder_version=”4.4.8″ custom_margin=”||||false|false” custom_padding=”||||false|false” hover_enabled=”0″ sticky_enabled=”0″][et_pb_row admin_label=”row” _builder_version=”3.25″ background_size=”initial” background_position=”top_left” background_repeat=”repeat” hover_enabled=”0″ sticky_enabled=”0″][et_pb_column type=”4_4″ _builder_version=”3.25″ custom_padding=”|||” custom_padding__hover=”|||”][et_pb_text admin_label=”Text” _builder_version=”4.4.8″ text_font=”Roboto|300|||||||” text_font_size=”21px” text_line_height=”1.8em” header_font=”Roboto|700|||||||” header_font_size=”34px” header_2_font=”Roboto||||||||” header_2_font_size=”28px” header_3_font=”Roboto||||||||” header_3_font_size=”26px” background_size=”initial” background_position=”top_left” background_repeat=”repeat” text_font_size_tablet=”” text_font_size_phone=”18px” text_font_size_last_edited=”on|phone” header_font_size_tablet=”” header_font_size_phone=”” header_font_size_last_edited=”on|desktop”]
Today I will show you how easy is to setup your own dedicated WordPress server, for a whole year, free, on the Google Cloud Platform. Sure, there are plenty of other options when setting up WordPress, some of them free and some of them cheaper than GCP over the long run. The goal of this article is not debate which option is better. All I want to show is how you can setup WordPress on GCP if one day you decide to do it.
Signup to GCP
Create a Google Cloud account if you don’t have one at cloud.google.com. You will get $300 USD free credit valid for 1 year.
Create your VM Instance
After signing up, navigate to Compute Engine -> VM Instances

Click on Create
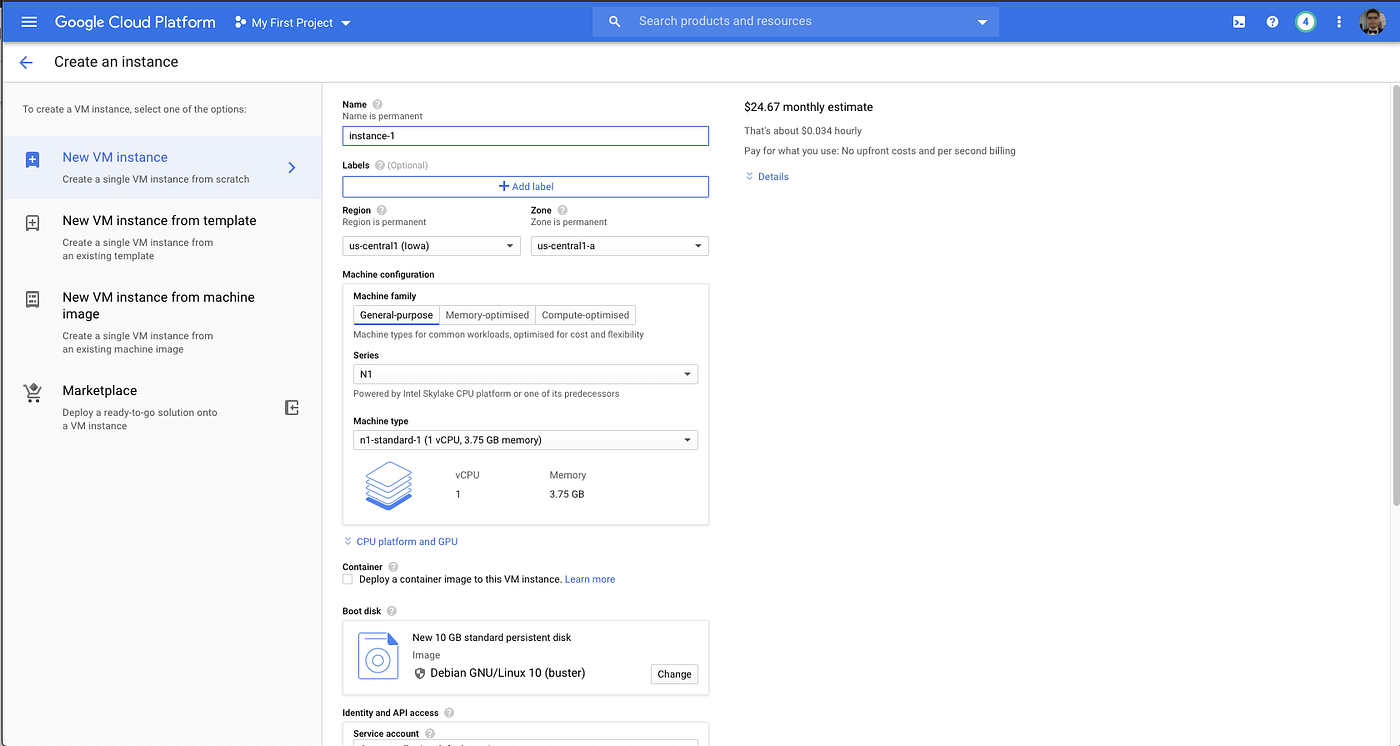
On the left hand side you will see the Marketplaces link. Click on this link as we are going to use a ready made instance of wordpress created by Bitnami.
Search for wordpress bitnami
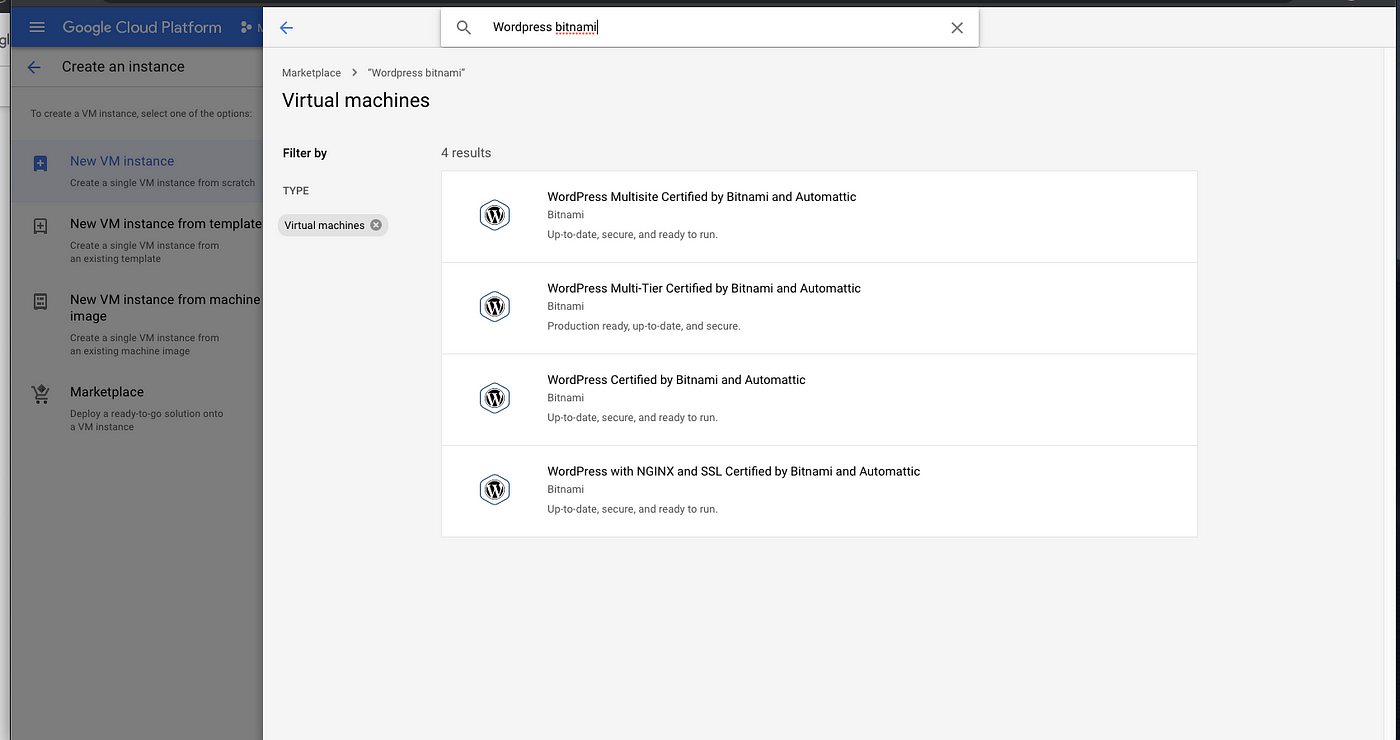
For this tutorial we will use the image “Wordpress with NGINX and SSL Certified by Bitnami and Automatic”
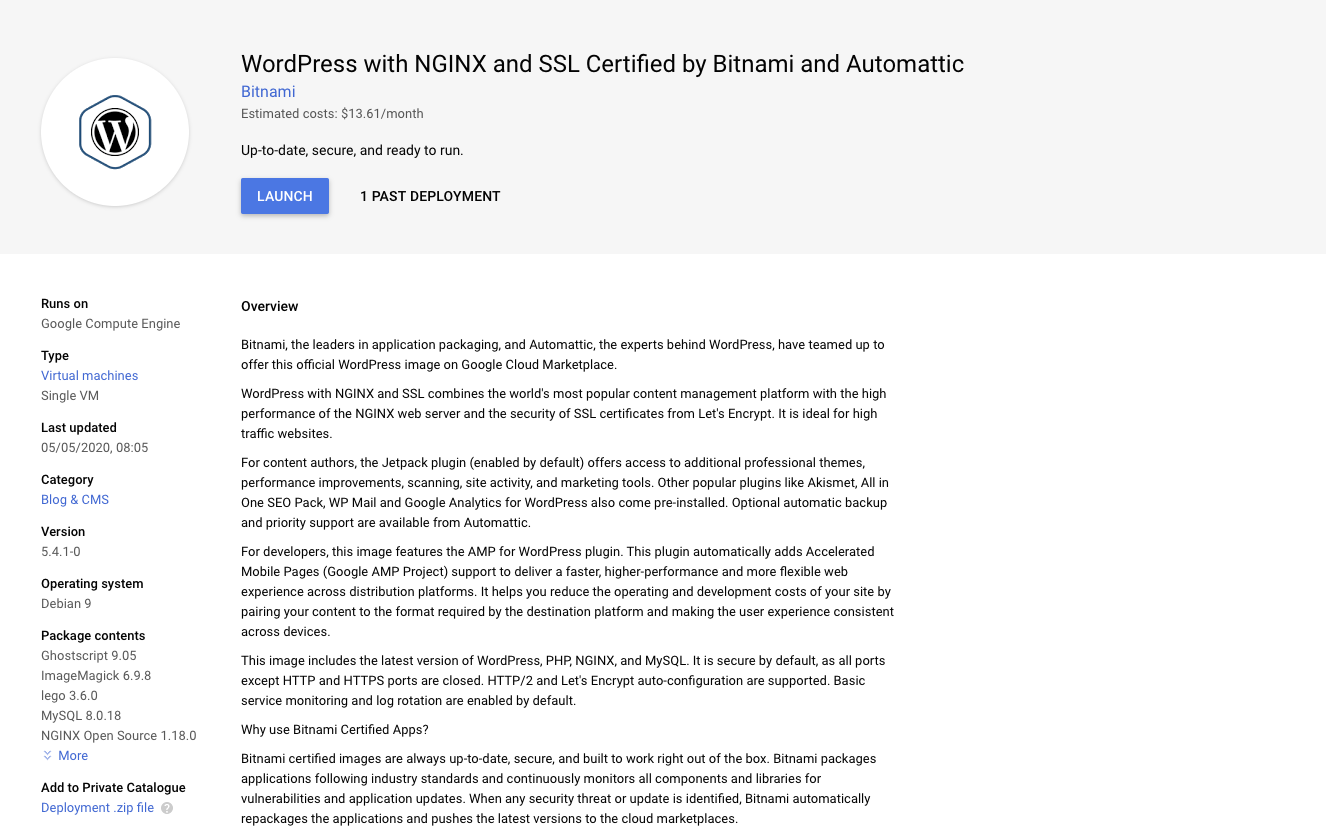
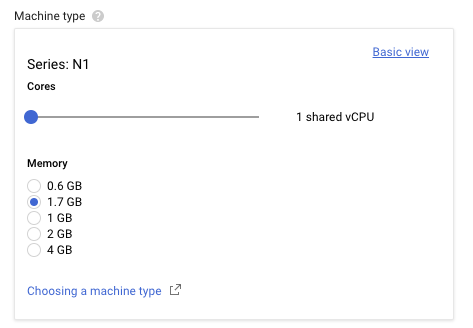
The total cost for this VM is circa around $13.61/month which includes discounts for continuous utilisation. With this you get a 1 shared vCPU + 1.7GB of memory(g1-small).
Click Launch
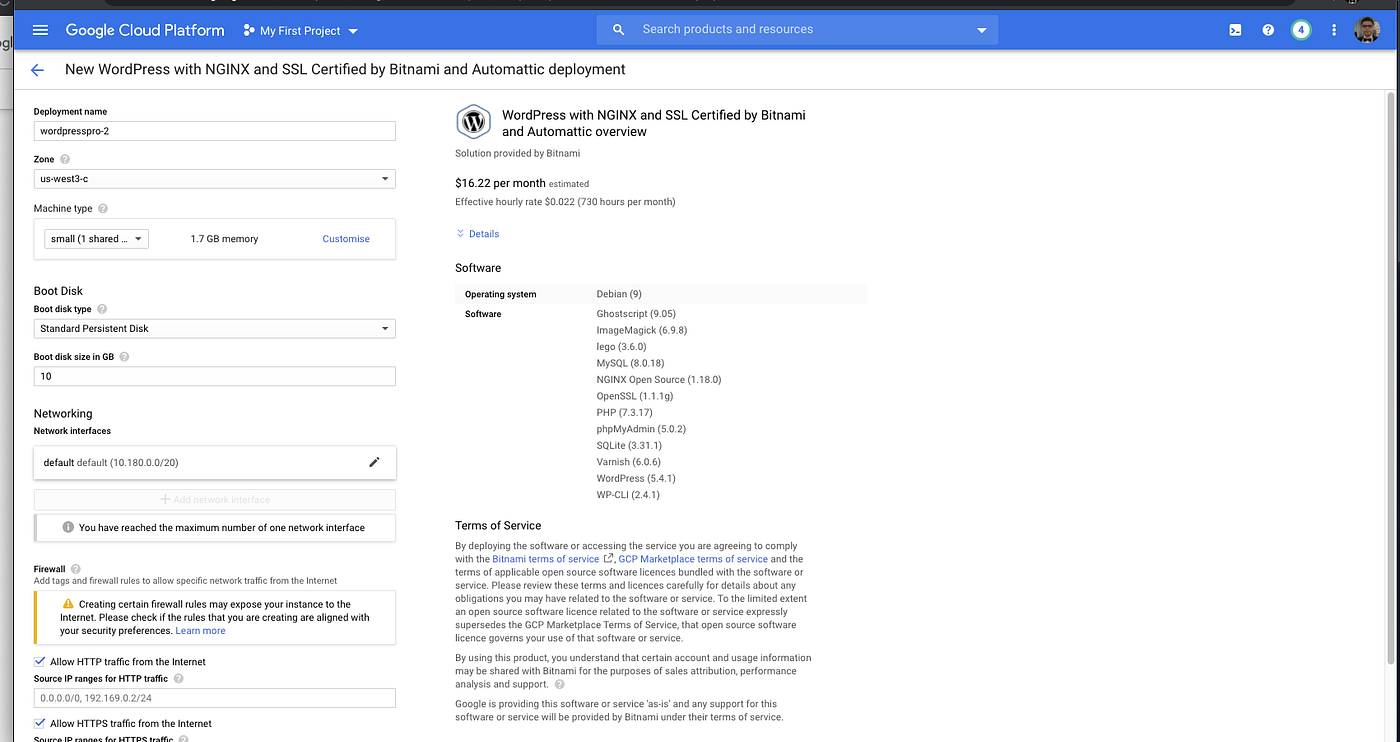
Select your desired Zone. Typically you want to select a zone close to where most your visitors will come from. E.g. Europe-west-4a. You will notice that the cost will vary slightly as different zones will incur extra costs specific to the country where the data center is located.
In this page you can also upscale your machine type by adding extra disk or specifying extra vCPUs.
I am not changing any of the settings except for the VM Instance name.
The firewall ports are already correctly setup to only allow HTTP/HTTPS traffic.
Click Deploy and wait for a few minutes for the VM instance to be ready

You will be forwarded to a Deployment Manager page where after the VM instance is provisioned you can access basic connection details and credentials needed for your new wordpress instance:
- The IP address
- URL for login to wordpress admin
- Passwords….
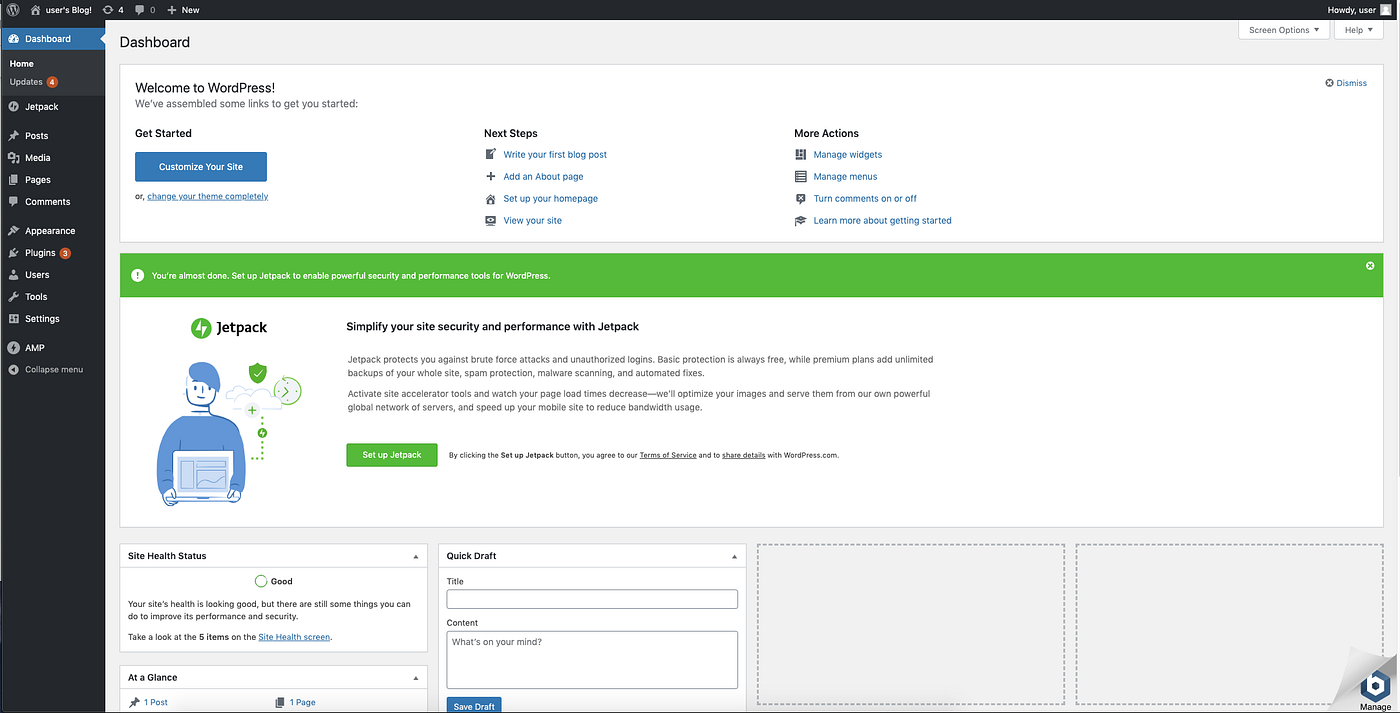
Login to your wordpress instance
Let’s first login to wordpress admin with the provided credentials. First thing I do is to change the generated password. You might also want to create your own user.
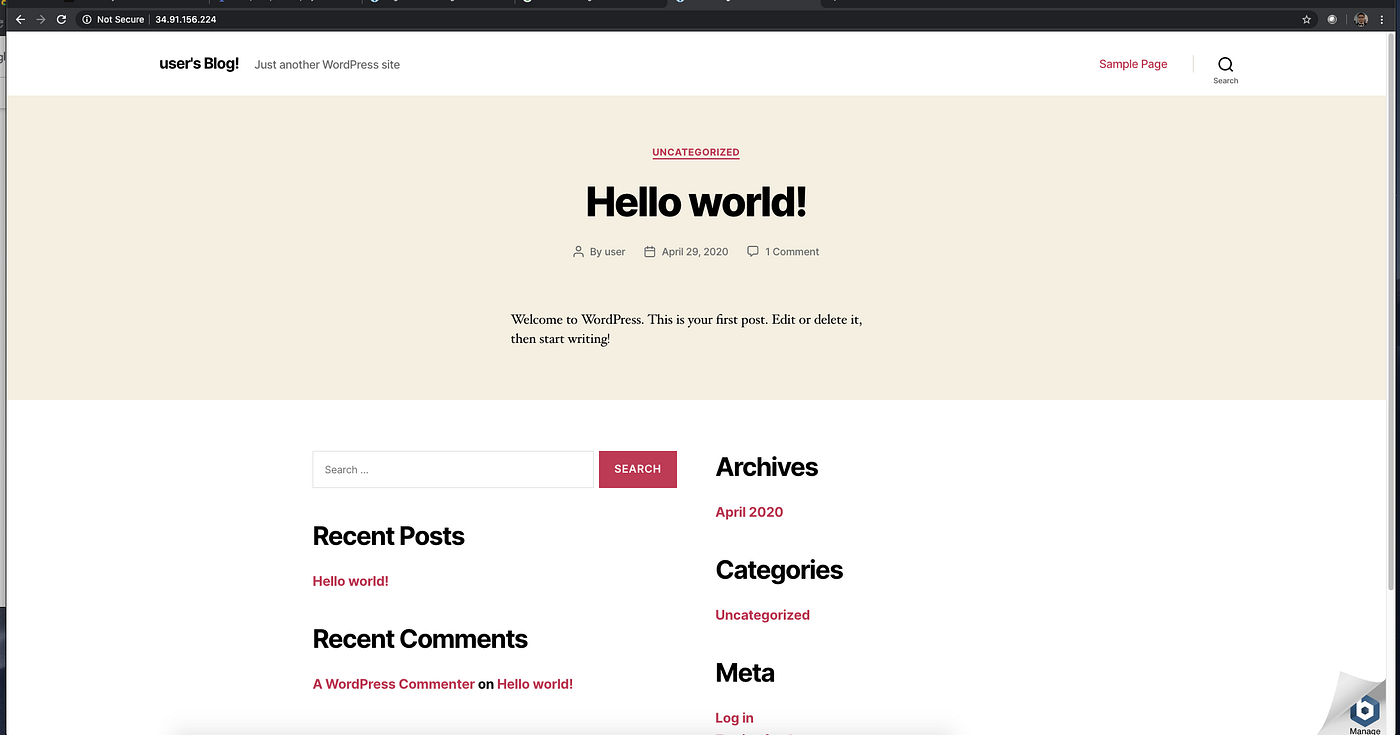
Ok so now we have a WordPress website running with ip address 34.91.156.224. What is next?
Configure a domain name
If you already have a domain name, then point your domain to this ip address.
If you don’t have a domain name you should buy one. For the purpose of this tutorial I will not create a domain name but instead use a free service that allows me to transform any ip addresss to a valid domain name. The service I will use is nip.io.
Generate SSL Certificates
I need a domain name because I want to generate a valid SSL certificate for my wordpress site using LetsEncrypt.
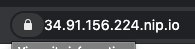
My domain name is 34.91.156.224.nip.io, where 34.91.156.224 is the ip address of the VM that was launched earlier.
Access instance by SSH
We need to access the wordpress instance via SSH. You can access the instance directly from the GCP console.
Go to Compute Engine -> VM Instances
Click on the SSH link to open a cloud shell.
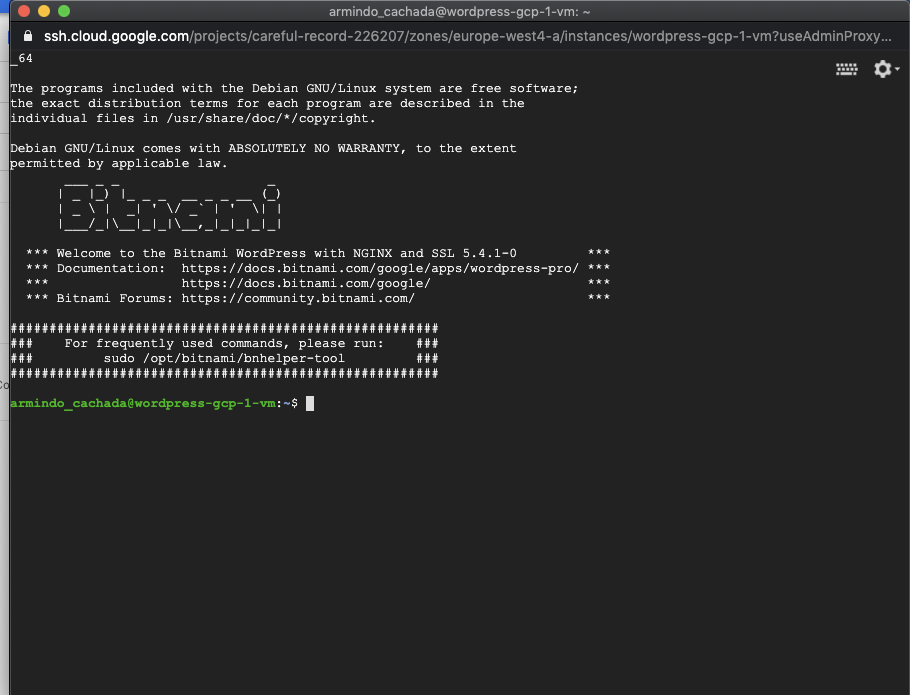
When accessing our wordpress instance via SSH there are some useful links to the documentation for our Bitnami wordpress instance.
Let’s create a free LetsEncrypt SSL certificate for this wordpress site. Bitnami has created some scripts that already automate that process.
sudo /opt/bitnami/letsencrypt/scripts/generate-certificate.sh -m admin@34.91.156.224.nip.io-d34.91.156.224.nip.io

Type Y for everything, including the last question about the cron job.
If all goes well and the domain is correctly configured you should see a success message at the end after NGINX is restarted.
Test your new SSL Certificate
Let’s test if the SSL certificate is working by accessing https://34.91.156.224.nip.io/
I know it worked in this case because I can see the safe lock displayed on the browser and the hello world wordpress page is correctly displayed.
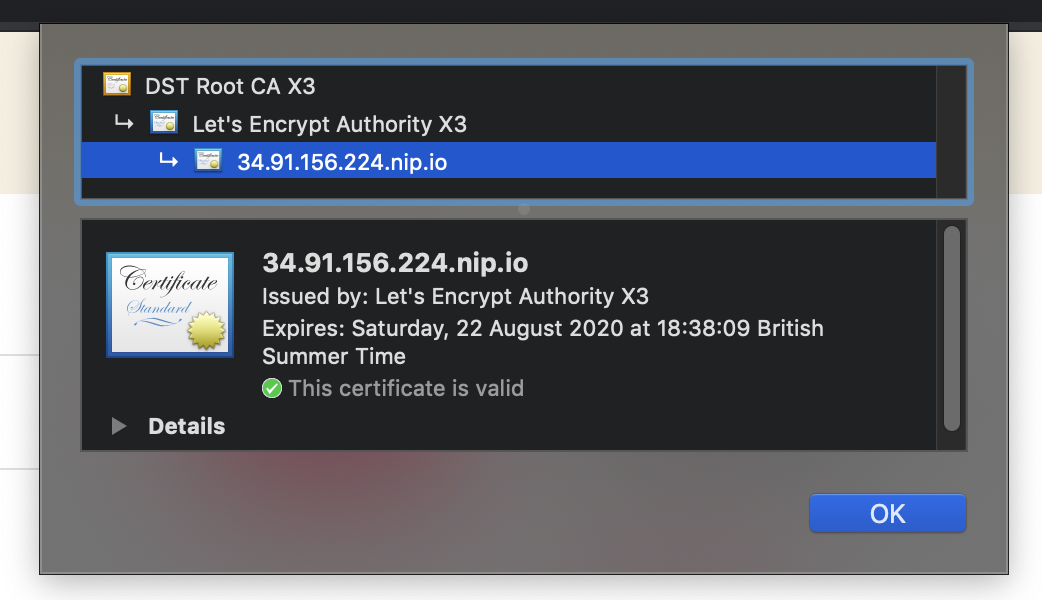
Further inspection of the SSH certificate shows:
Setup redirect to https
One thing you will notice is that you still can access the site via http. This is not desirable so one should ensure that all traffic is redirected to https.
Using the ssh shell we opened earlier edit the /opt/bitnami/nginx/conf/bitnami/bitnami.conf file and change the following code block:
# HTTP server
server {
        listen       80;
        server_name  localhost;
return 301 https://$host$request_uri;
#include "/opt/bitnami/nginx/conf/bitnami/phpfastcgi.conf";
include "/opt/bitnami/nginx/conf/bitnami/bitnami-apps-prefix.conf";
}
The line you need to add is show above in bold.
Save and exit
Restart NGINX
Restart Nginx with the following script:
@wordpress-gcp-1-vm:~$ sudo /opt/bitnami/ctlscript.sh restart nginx
Unmonitored nginx
/opt/bitnami/nginx/scripts/ctl.sh : Nginx stopped
/opt/bitnami/nginx/scripts/ctl.sh : Nginx startedMonitored nginx
And voila, any visitor to the site will now always be redirected to HTTPS
Some housekeeping
Remove MANAGE Link from front page
Remove MANAGE Link shown at the bottom right of the wordpress Hello World page.

We don’t want to leave that link there, so we need to disable it. In order to disable it let’s again use the SSH Cloud shell and execute the following script:
And like magic the link is gone.
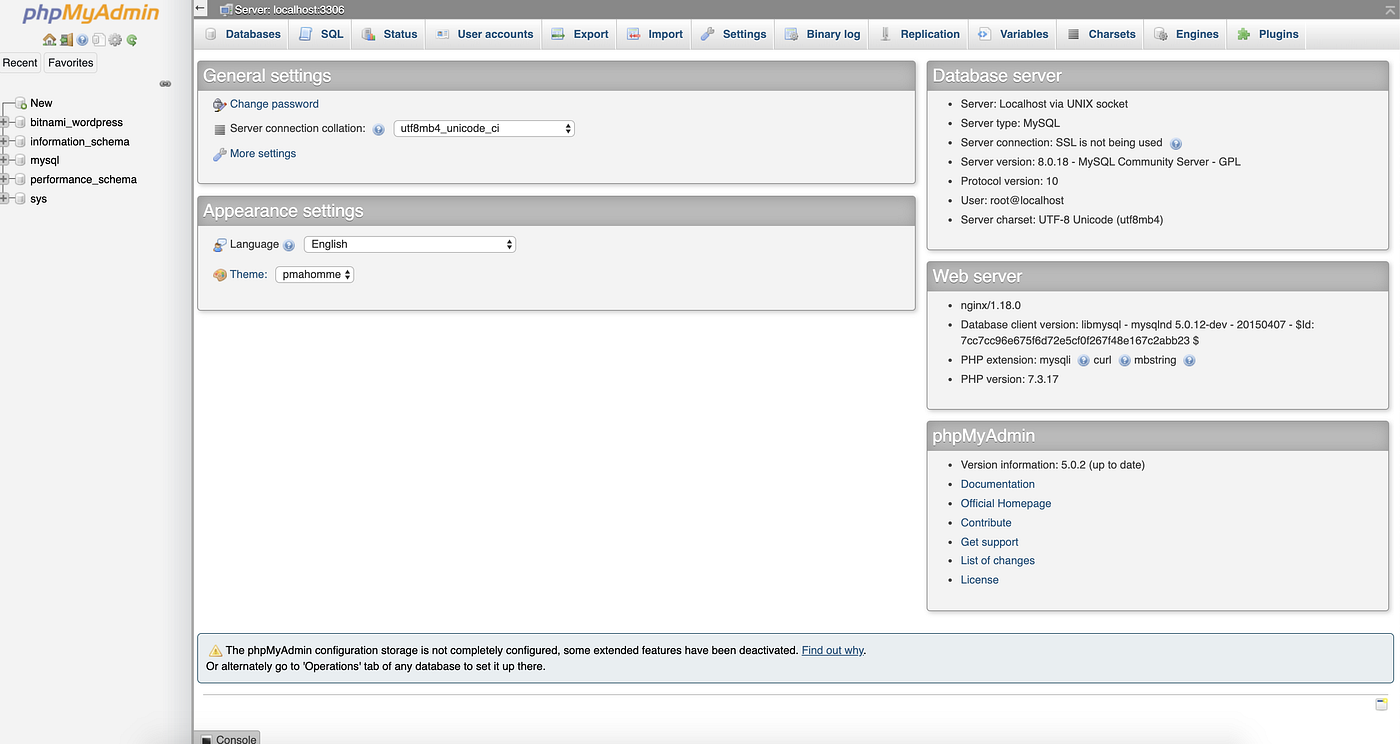
How to access PHPMyAdmin
Is this all? Not yet. At some point you will need access to the phpMyAdmin page. Because of security constraints, you can only access it via localhost(127.0.0.1). What that means is that an ssh tunnel is needed. Not great for those less technically savvy. But that’s how it was configured.
15.1 Create an SSH Key
If you use MacOS, open a terminal and type:
-mbp:~ user$ ssh-keygen
Generating public/private rsa key pair.
Enter file in which to save the key (/Users/user/.ssh/id_rsa): /Users/user/.ssh/id_rsa_gcp
Enter passphrase (empty for no passphrase):
Enter same passphrase again:
Your identification has been saved in /Users/user/.ssh/id_rsa_gcp.
Your public key has been saved in /Users/user/.ssh/id_rsa_gcp.pub.
The key fingerprint is:
SHA256:qesXV6dbzUu0l4Gcdg4lm5TLX0iJi9hQQ+Mroghzew4 [email protected]
The key's randomart image is:
+---[RSA 2048]----+
|         o=  ... |
|        .. o.+o. |
|         +..+oO. |
|        ..o.o@o+.|
|o .   . S ...o*o=|
| + o . o... . .*+|
|  E o .  o   o. o|
|   +   ..   .  . |
|    ..o.         |
+----[SHA256]-----+
15.2 In a browser go to GCP->Compute Engines->VM Instances and click on the wordpress VM instance to view the instance details.

15.3 Add your SSH public key to the VM instance
Click Edit and in the edit screen, locate the SSH Keys section and paste the content of /Users/user/.ssh/id_rsa_gcp.pub.
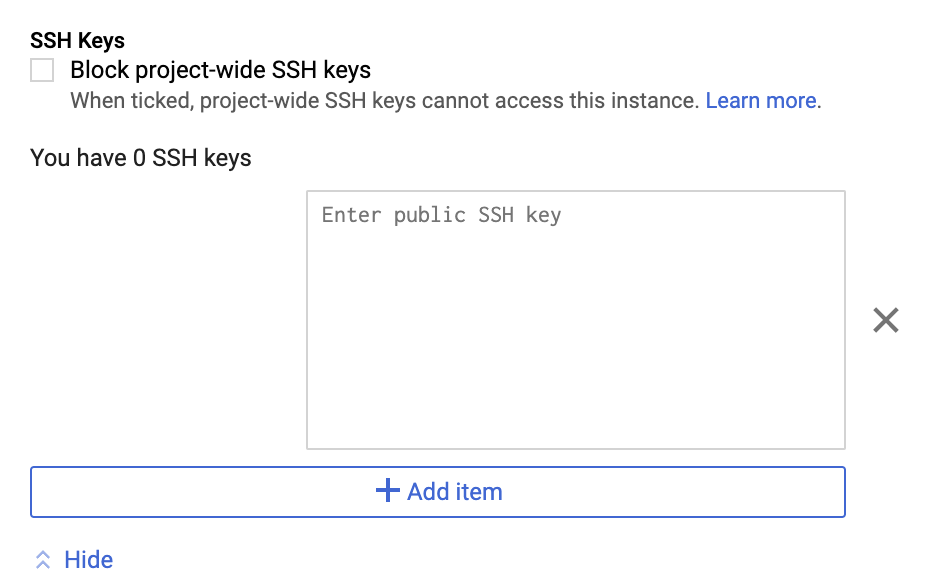
Click Save to save the changes.
15.4 Now you can create SSH tunnel to the instance
ssh -N -L 8888:127.0.0.1:443 -i KEYFILE username@SERVER-IPYou should be able to access PhpMyAdmin at
https://localhost:8888/phpmyadmin/
Username is root and password is the same as the original password that we used to access wordpress admin.
Now you should be ready to build your new website!
[/et_pb_text][/et_pb_column][/et_pb_row][/et_pb_section]