In this article, I am going to show you how you can install Tensorflow 2.5, CUDA 11.2.1, and CuDNN 8.1, for Windows 10, with full support for an Nvidia GPU RTX 30 series card. Since CUDA is backward compatible it should also work for RTX 20 series cards or older.
But before I install CUDA, I will do some benchmarking of Tensorflow 2.5 without a GPU. I will be training an image classification model that I developed in a previous video, with my AMD Ryzen 5900X CPU.
The AMD Ryzen 5900X CPU has 12 cores and 24 threads, and it is a decent CPU all around, perfect for a beginner in Deep Learning like myself.
Once I complete the CUDA setup, I will try again to complete the training of the same model with my Nvidia RTX 3070 GPU. It has 5888 CUDA cores. Can it beat the AMD Ryzen 5900X CPU? It definitely should.
GPUs are much faster than CPUs when handling lots of matrix calculations. But I am going to be open-minded. You never know.
One of the reasons I am not sure is that there is an open issue in Github regarding the the RTX3090 being slower than the Nvidia RTX1080i for predictions with Resnet. This might be because of tensorflow itself not taking full advantage yet of the Ampere architecture.
What are we waiting for? Let’s get started!
Install Anaconda
For this setup, I am going to be using Anaconda. If you don’t have Anaconda installed, you can follow one of my videos to complete the Anaconda setup. The link is in the description.
Creating an Anaconda environment for Tensorflow
Let’s now start Anaconda and create an Anaconda environment for Tensorflow.
In this Anaconda environment, we will be able to install TensorFlow and any related dependencies. Tensorflow is infamous because of being very sensitive to library dependencies. Some who have experienced it might describe it as Tensorflow dependency hell. So let’s contain this hell in an environment.

Installing Tensorflow with conda
Ideally, we should use conda to install Tensorflow and even CUDA. Because Tensorflow 2.5 is not yet available in conda-forge and that is the only version that has CUDA 11.2 support, we will skip that for now.
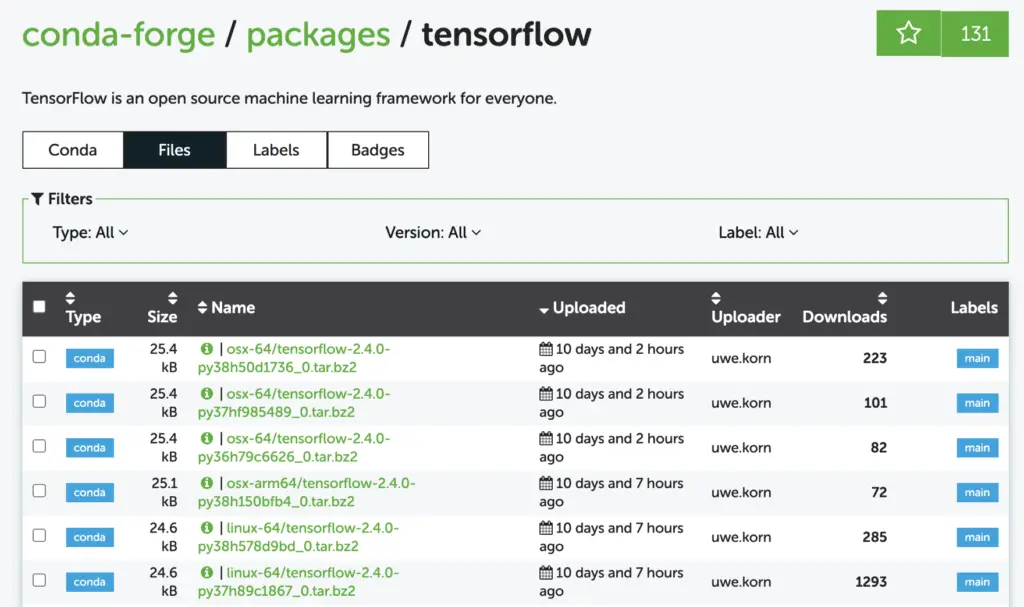
Installing Tensorflow with pip
The problem with relying on Anaconda to install Tensorflow is that is always a bit behind in versions. Furthermore, CUDA 11.2 support seems to be only supported in Tensorflow 2.5.0 which is still a release candidate.
Important Update: Tensorflow 2.5.0 was officially released. So ignore the comments about it being a release candidate
Since we really need CUDA 11.2 support our only option here is pip.
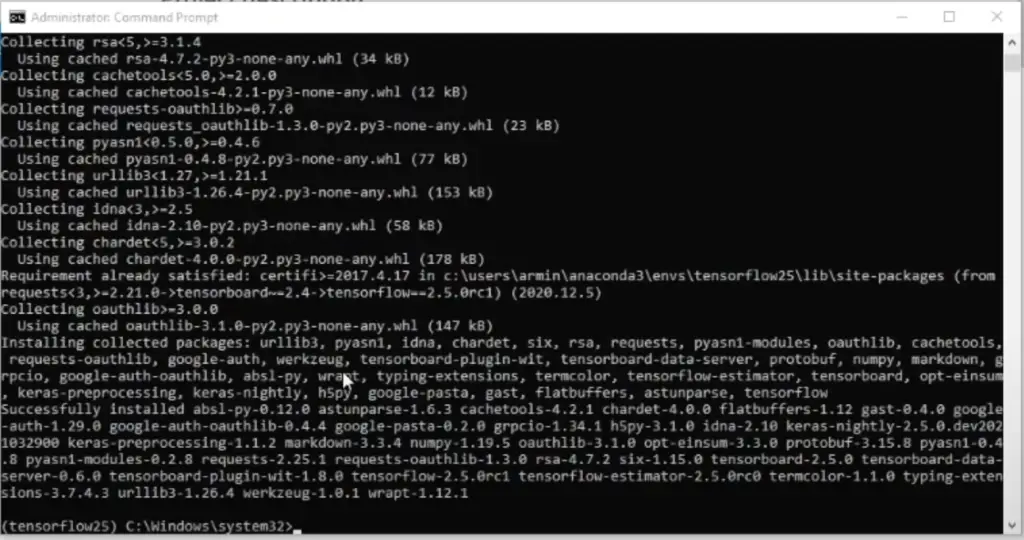
We open a command prompt:
$ conda activate tensorflow25
$ pip install tensorflow==2.5
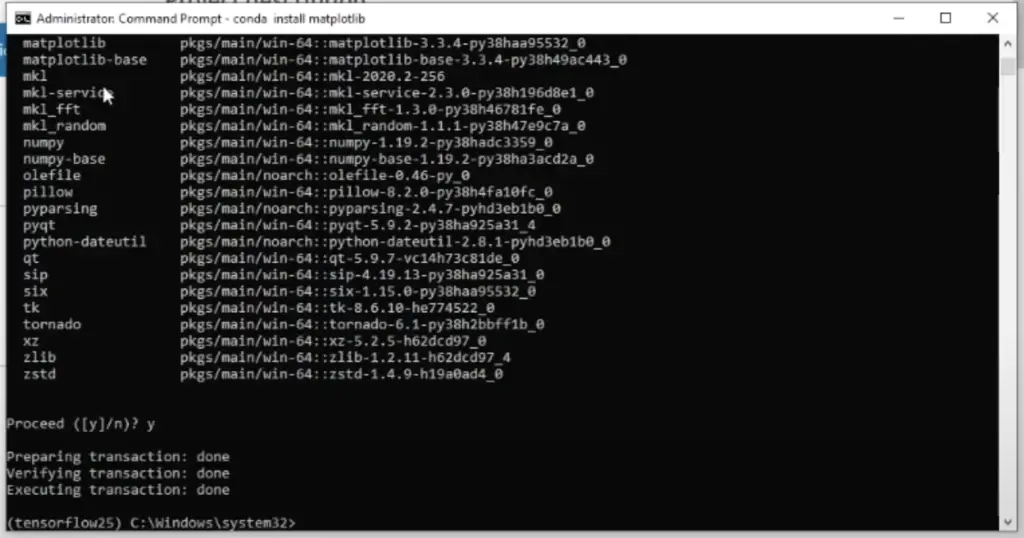
Let’s install some additional libraries from conda-forge, which are not required by Tensorflow but, are required by the python notebook with which we will later validate that Tensorflow and Keras are fully working.
$ conda install matplotlib
$ conda install pandas

Testing Tensorflow model training with an AMD Ryzen 5900X CPU
Now that I have Tensorflow installed, we need to test it.
To know how big a difference a GPU makes when training a machine learning model, I am going to do a small competition between my AMD Ryzen 5900X CPU and my Nvidia RTX 3070 GPU. The AMD Ryzen 5900X has 12 CPU cores, and it is one of the top CPUs from AMD for gaming. Can it really make up for a lack of a GPU? Let’s find out.
For this benchmark I am going to use a notebook I developed as part of my article on Tensorflow Object Detection API — Custom Image Classification — Can I detect if a painting is a nativity painting?
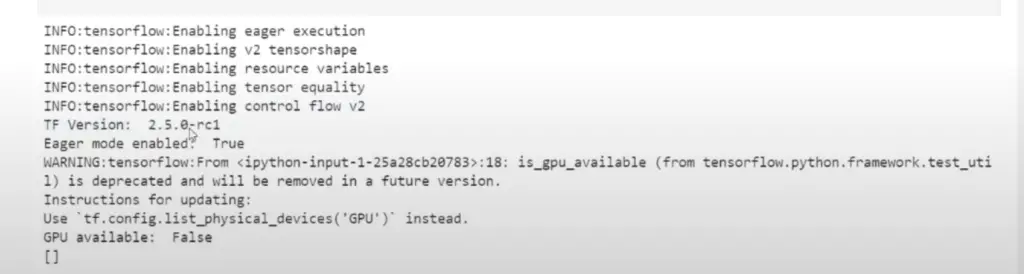
By running the first block of the notebook, we can see that Tensorflow doesn’t have access to a GPU. Which is what we expect.
After completing the training using “Transfer Learning” for our image classification model, we get the following results:
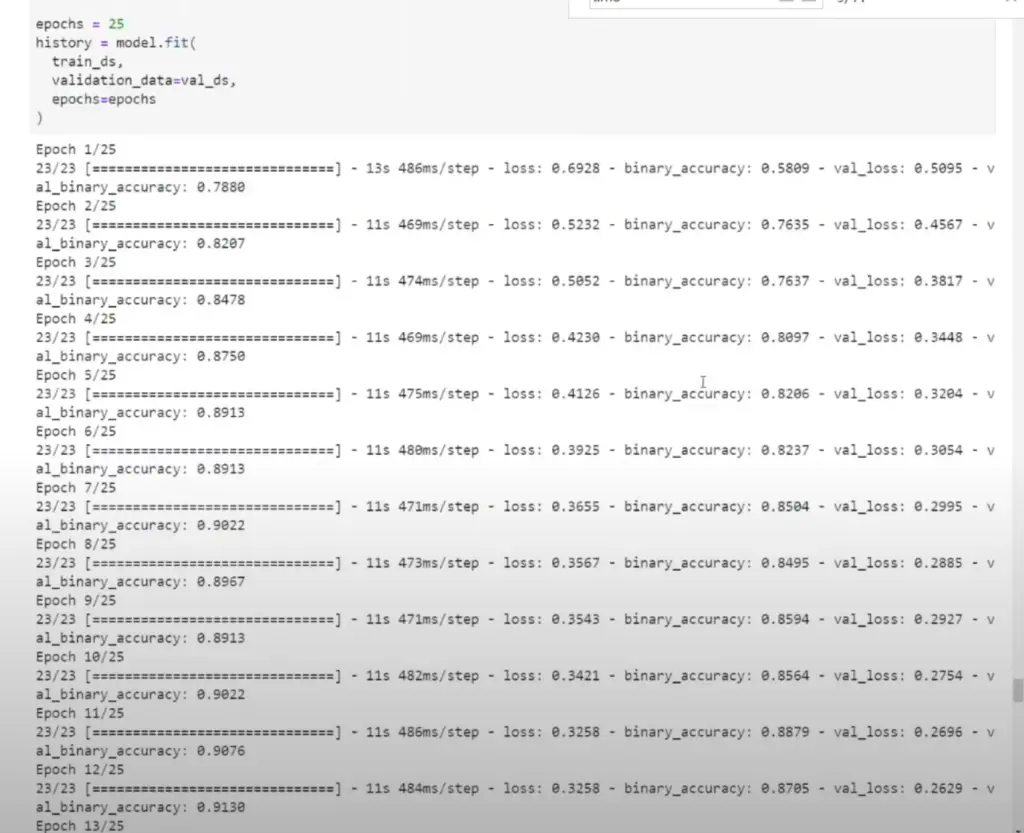
Each epoch takes between 11s to 13s to complete with an average of 500ms per step.
Let’s see if we can improve on this once we are able to configure Tensorflow to train using the GPU.
Update Nvidia Graphics Card Driver to latest version
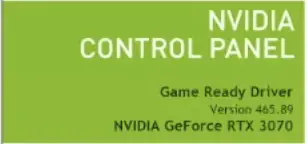
Before we install CUDA, it’s a good idea to update to the most recent version of the Nvidia Game-Ready driver. I am currently on one of the most recent versions, as in a recent episode I enabled Resizable BAR on my Nvidia graphics card.
Therefore I don’t really need to update my graphics card driver just yet.
You can find which version of your graphics card you have, by opening the Nvidia Control Panel, accessible in the bottom right of your screen:
If you do need to install a newer Nvidia driver, do not forget to restart your computer.
Downloading CUDA 11.2
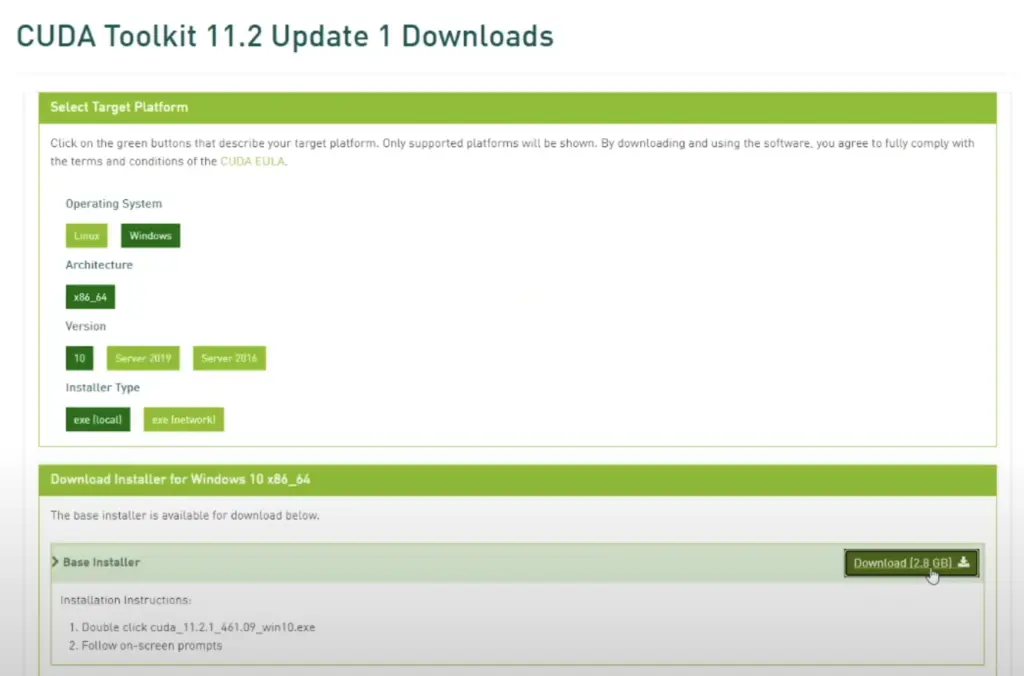
First, let’s download CUDA 11.2 from the Nvidia website. Currently 11.3 is the latest version, but what we really want is version 11.2.1:

Download the version suitable for your OS. In my case, I am downloading the version for Windows.
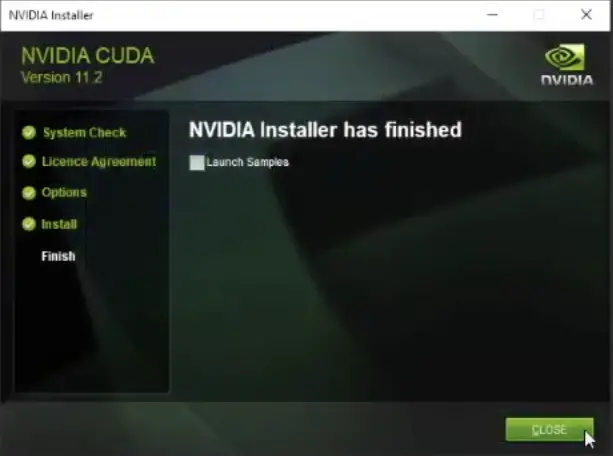
Installing CUDA 11.2
To install CUDA, you just need to execute the installer and follow the installation steps.
After the installation is completed, we need to add an environment variable for CUDA. Open a command prompt and type:
$ sysdm.cpl
The Windows “System Properties” will show up.

Then select the “Advanced tab and then on “Environment Variables”
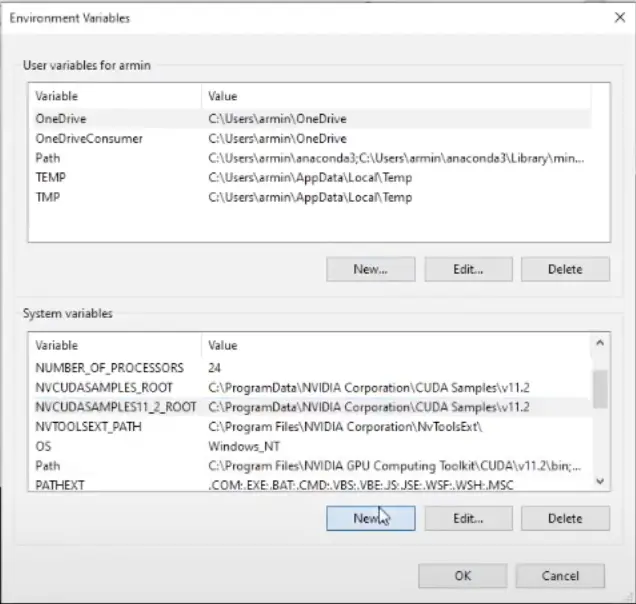
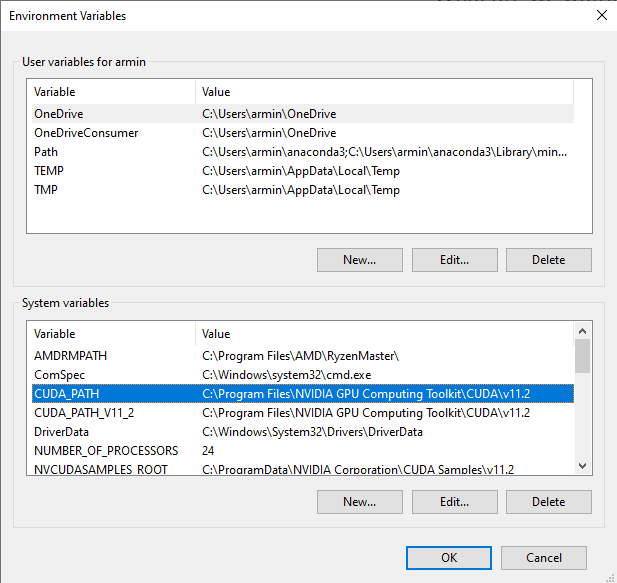
Under “System Variables” click on “New”
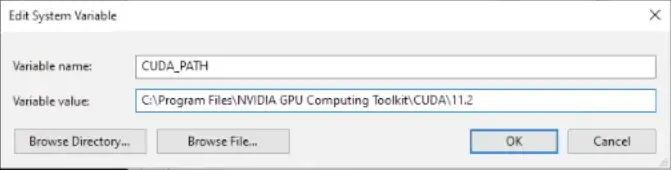
And create the CUDA_PATH variable name as shown in the screen above.
Important Note: Please add a v to 11.2 => v11.2
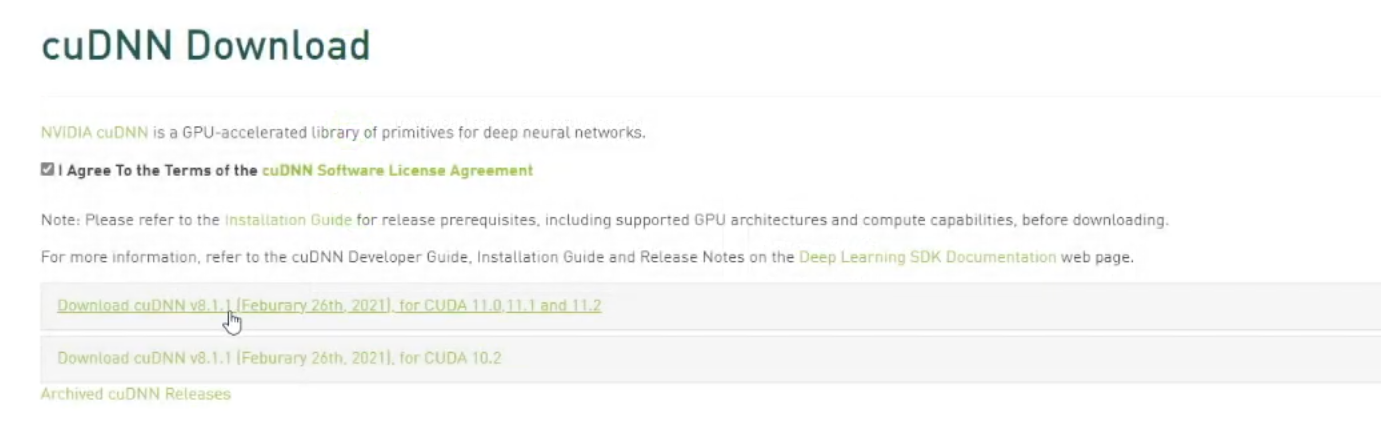
Downloading CuDNN 8.1
Now that CUDA 11.2 is installed, it is time to download and install CuDNN version 8.1.
In order to download CuDNN, you will need to have an Nvidia Developer Account:

And we need to download version 8.1, not version 8.2 or higher.
Installing CuDNN 8.1
To Install CuDNN version 8.1, you need to unzip the installation file:

And we now need to follow steps from the Nvidia CuDNN documentation. But for convenience I copied the steps you need to follow:
- Copy <installpath>\cuda\bin\cudnn*.dll to C:\Program Files\NVIDIA GPU Computing Toolkit\CUDA\v11.2\bin.
- Copy <installpath>\cuda\include\cudnn*.h to C:\Program Files\NVIDIA GPU Computing Toolkit\CUDA\v11.2\include.
- Copy <installpath>\cuda\lib\x64\cudnn*.lib to C:\Program Files\NVIDIA GPU Computing Toolkit\CUDA\v11.2\lib\x64.
There is no need to include cudnn.lib as a dependency in Visual Studio, that is unless you plan to compile Tensorflow from source, or perhaps if you need to use the CuDNN library directly.
Testing that Tensorflow Detects GPU
Now that we have completed all the setup steps for Tensorflow, CUDA, and CuDNN, it is time to find out if the GPU is detected by Tensorflow.
So we go back to our Jupyter notebook and we run the first step again:
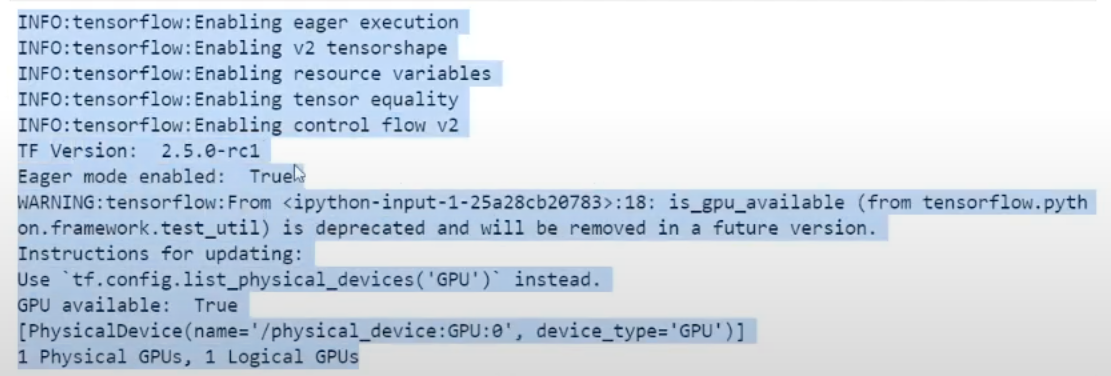
Tensorflow can see and use our GPU. So lets re-run the training and see if we get better results with a GPU.
Testing Tensorflow model training with an Nvidia RTX 3070 GPU
So let’s rerun the “Transfer Learning” step again:
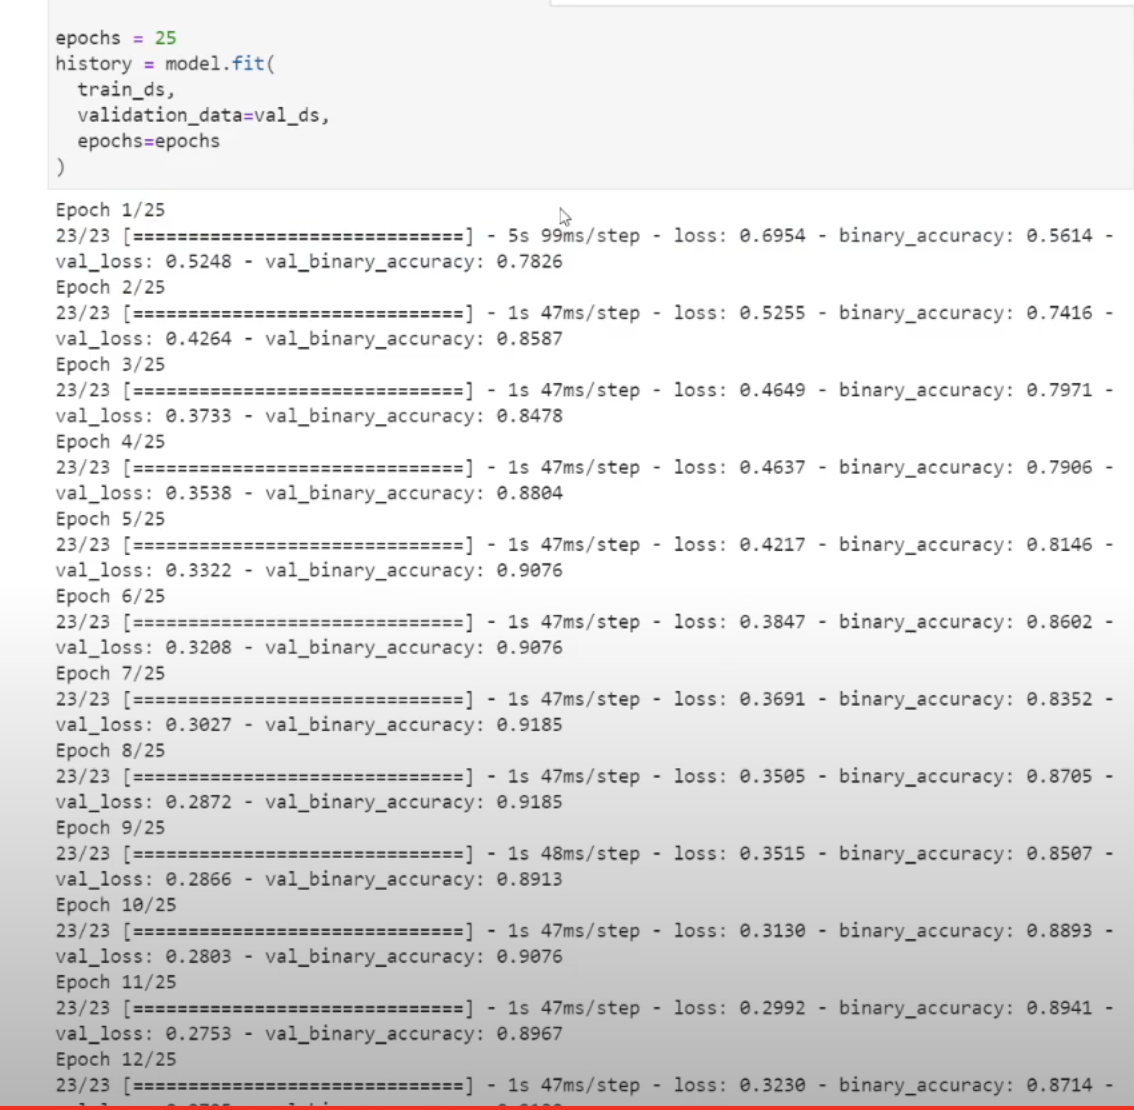
Wow… It used to take 11s per epoch, it now takes 1s to complete a full epoch.
Notice the startup time in the first epoch. This is a known issue in Tensorflow. The training for the first epoch is normally slower. But after the first epoch, its pretty steady at 1s per epoch and 47ms per step.
I can’t wait to do more experiments with Deep Learning now that my Tensorflow recognizes my GPU!
Happy coding!
Resources
Recommended Courses for Data Science
- Learn Python for Beginners 👉🏼 Python for Everybody
- Learn Deep Learning with Andrew Ng 👉🏼 Neural Networks and Deep Learning by Andrew Ng
- Learn Data Science with Coursera Plus 👉🏼 Coursera Plus For Data Science
Comments
4 responses to “How to install Tensorflow 2.5 with CUDA 11.2 and CuDNN 8.1 for Windows 10”
Hi, your command pip install tensorflow.2.5.0rc1 didn’t work for me, I need to run pip install tensorflow==2.5.0rc1
Thanks for the correction. It was a typo.
Hi, thank you for publishing this great article!
Your method worked also for CUDA 11.3 with CUDnn 8.2 and tensorflow 2.5.0.rc3 on python version 3.8.8.
With python version 3.9.0, 3.9.2 and 3.9.4 I get this error and don’t know how to solve this…
“OSError: [WinError 193] %1 is not a valid Win32 application”
I am sorry if this is a late reply. With Tensorflow you don’t change version numbers of anything if you can. Even a minor python version can break things. Not sure if your error is related to that. Most likely it seems to be a more basic issue with finding the python versions you tried to test with.
You have used CUDA 11.3. It might look like it works, but you might also run into issues. The best is to double-check on the TensorFlow github that CUDA 11.3 has also been tested with Tensorflow 2.5.