
This is a series of Google Cloud Platform study notes:
Domain, SSL, and Google Site (#1)
How to Deploy Flutter WebApp using Google AppEngine (#2)
How to Deploy Flutter WebApp using Google Cloud Run (#3)
How to Deploy Flutter WebApp using Google Compute Engine (#4)
How to Deploy Flutter WebApp using Google Kubernetes Engine (#5)
Google provides various web hosting options: Compute Engine, App Engine, Kubernetes, firebase, Cloud Run, and Cloud functions. The table below might help you make decisions.
+--------------+---------------------------------------+
| Static site  | Firebase hosting                      |
+--------------+---------------------------------------+
| Dynamic site | Compute Engine, App Engine, Cloud Run |
+--------------+---------------------------------------+
In this article, I will demo deploying a Flutter WebApp using Google Kubernetes Engine.
Google Kubernetes Engine
Kubernetes is also known as K8s, is an open-source system for automating deployment, scaling, and management of containerized applications. (kubernetes.io)
Google Kubernetes Engine (GKE) provides a managed environment for deploying, managing, and scaling your containerized applications using Google infrastructure. (cloud.google.com/kubernetes-engine)
To deploy a WebApp on GKE, we will need the following steps:
- Create a Google project
- Create a Flutter WebApp project and containerizing it
- Create a GKE cluster
- Deploy to GKE
Create a Google Platform Project
First, go to Google Cloud Platform to create a project.
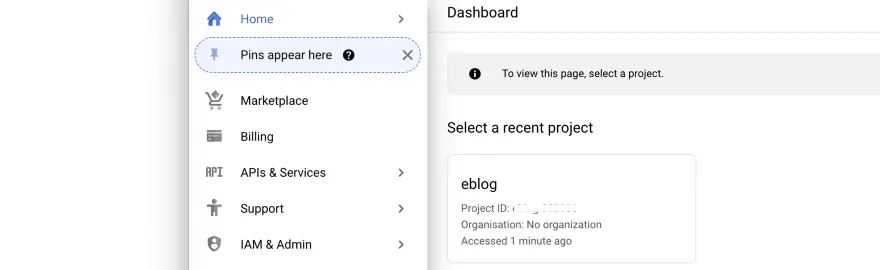
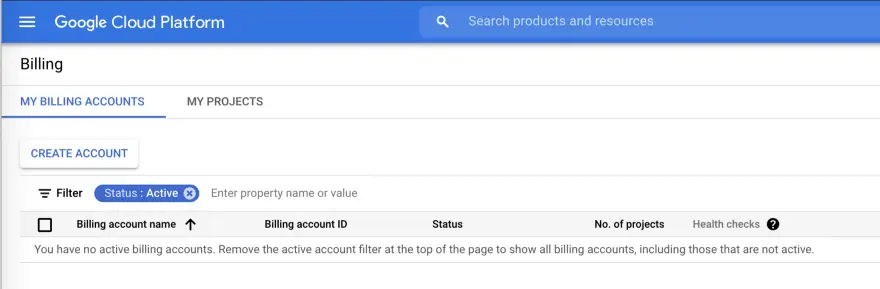
Google gives the new users a free $300 credit for 90 days to try the GCP suite, so even though you need to set up the billing, you won’t be charged if you stay within your free quota. But I would recommend setting up budget alerts to keep on top of your spending. You can permanently disable it during the development period and enable the app engine server on-demand with one click.
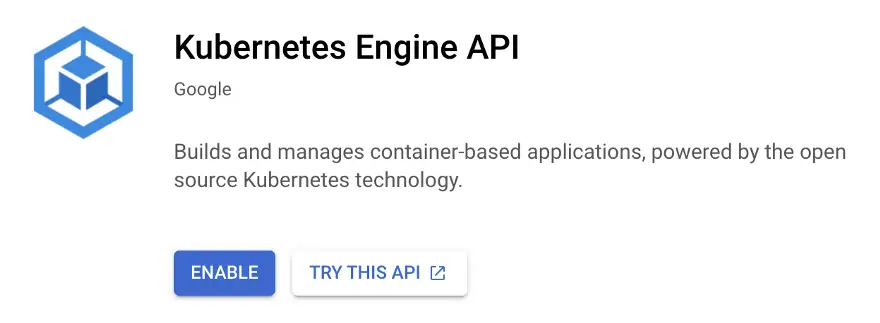
The next step is to enable Kubernetes Engine API:
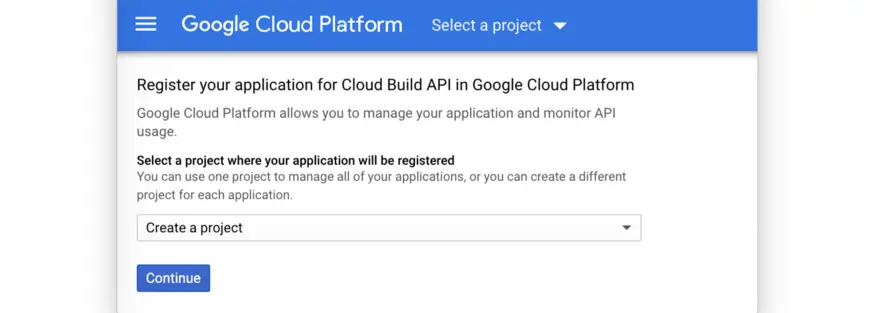
Then enable the Cloud Build API:
Now that we have a project with Google Cloud, the final step is to install the Google Cloud SDK and kubectl command so that you can perform actions from the command-line tool:
./google-cloud-sdk/install.sh
./google-cloud-sdk/bin/gcloud init
gcloud components update
gcloud components install kubectl
Create a Flutter WebApp
*Prerequisite: IntelliJ or VS Code IDE with Flutter build environment
Create a new Flutter project with Android/iOS/Web-enabled, or use your existing Flutter project if you have one. Run the following command, making sure you can build the web page locally:
flutter build web
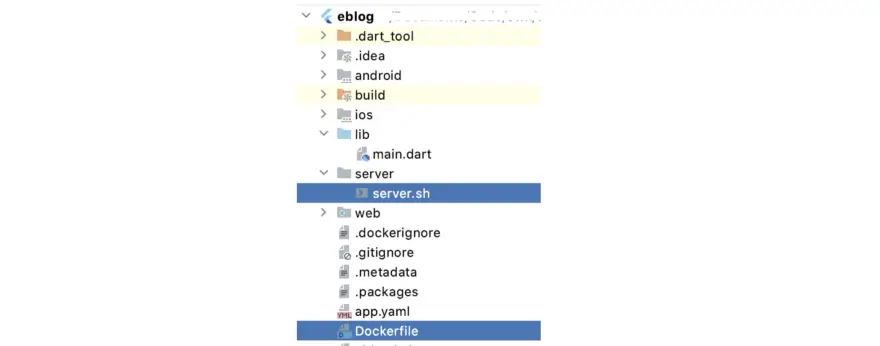
Create a Dockerfile in the root folder, which configures the Docker image settings and containerizing the app. Copy the following content into your Dockerfile.
FROM ubuntu:20.04
# Setup
RUN apt-get update && apt-get install -y unzip xz-utils git openssh-client curl python3 && apt-get upgrade -y && rm -rf /var/cache/apt
# Install Flutter
RUN git clone https://github.com/flutter/flutter.git /usr/local/flutter
ENV PATH="/usr/local/flutter/bin:/usr/local/flutter/bin/cache/dart-sdk/bin:${PATH}"RUN flutter channel master
RUN flutter upgrade
RUN flutter config --enable-web
RUN flutter doctor -v
# Copy files to container and get dependencies
COPY . /usr/local/bin/appWORKDIR /usr/local/bin/appRUN flutter pub getRUN flutter build web
# Document the exposed port and start serser
EXPOSE 8080ENTRYPOINT [ "/usr/local/bin/app/server/server.sh" ]
Next, create a server.sh file inside the server folder:
#!/bin/bashcd build/web/
python3 -m http.server 8080
The project directory looks like this.
The final step is to containerizing the app and upload it to Container Registry:
gcloud builds submit --tag gcr.io/[you-project-id]/[your-project-name] .
Deploy to Google Kubernetes Engine
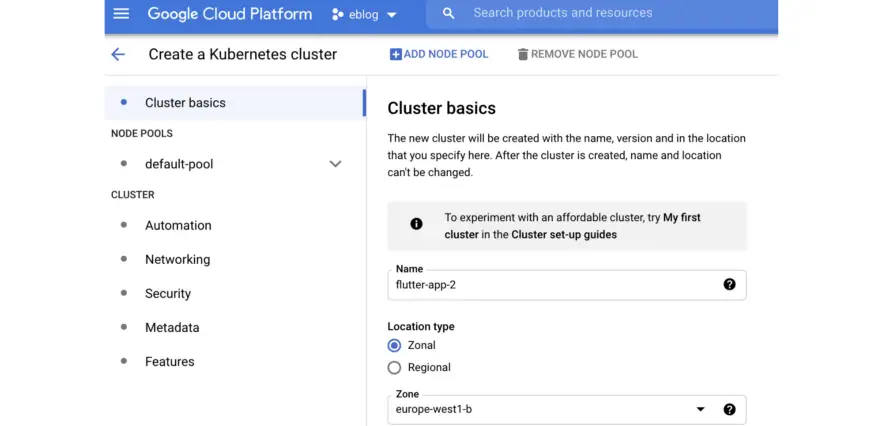
Go to Google Cloud Platform Console > Navigation menu > Kubernetes Engine > Clusters > Create, choose a name and zone for your cluster, and keep everything else as default (unless you prefer to config it).
In the command line, check the deployment with:
kubectl get deploymentsOr you should be able to view your cluster in the Google Cloud Console.

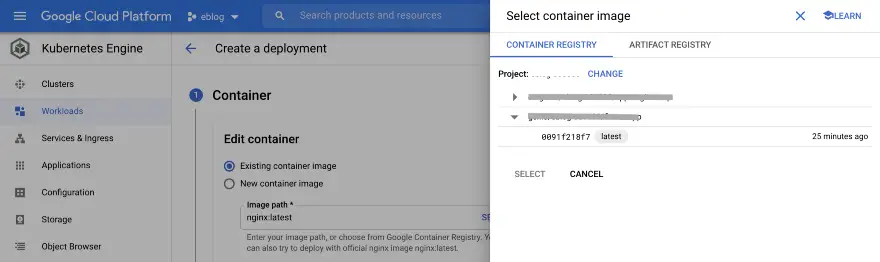
Deploy the image
Go to Google Cloud Platform Console > Navigation menu > Kubernetes Engine > Workloads > Deployment; in the Edit container drop-down list, select the image you just uploaded.
Deploy the service
The Pod is contained within your Google Cluster, and you need a service that provides load-balanced access to it.
Create a file service.yaml in the same directory with your Dockerfile
apiVersion: v1
kind: Service
metadata:
  name: [your-service-name]
spec:
  type: LoadBalancer
  selector:
    app: [your-project-name]
  ports:
  - port: 80
    targetPort: 8080
Create the service:
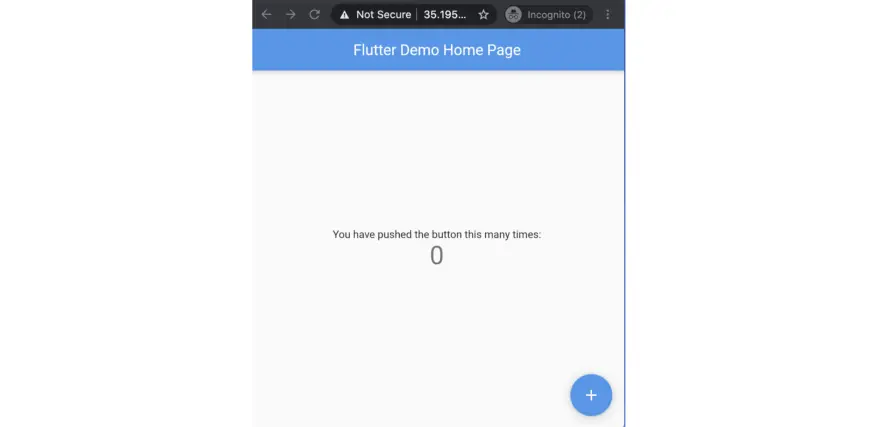
kubectl apply -f service.yamlOnce deployment has completed, click the URL link to see your WebApp
☀️ 🌤 ⛅️ 🌥 ☁️ NEXT (and in no particular order) 🌦 🌧 ⛈ 🌩 🌨
- Domain, SSL, and Google Site ✅
- Host the site: App Engine ✅
- Host the site: Docker and Cloud Run ✅
- Host the site: Compute Engine and virtual machine ✅
- Host the site: GKE ✅
- Storage and database
- Build the Flutter WebApp
- Google operations suite (Logging, monitoring, and debugging)