
This is a series of Google Cloud Platform study notes:
Domain, SSL, and Google Site (#1)
Host Flutter WebApp using Google AppEngine (#2)
Deploy Flutter WebApp using Google Cloud Run (#3)
Host Flutter WebApp using Google Compute Engine (#4)
Google provides various web hosting options: Compute Engine, App Engine, Kubernetes, firebase, Cloud Run, and Cloud functions. The table below might help you make decisions.
+--------------+---------------------------------------+
| Static site  | Cloud storage, Firebase hosting       |
+--------------+---------------------------------------+
| Dynamic site | Compute Engine, App Engine, Cloud Run |
+--------------+---------------------------------------+
In this article, I will demo deploying a Flutter WebApp using Compute Engine, and you should be able to host your Flutter project with it if you follow through.
- Create a Google Cloud Project
- Create a virtual machine instance
- Deploy LAMP stack on your instance
- Create a Flutter WebApp
- Deploy the WebApp on your server
- Secure the Apache server with an SSL certificate
1. Create a Google Platform Project
First, go to Google Cloud Platform to create a project.
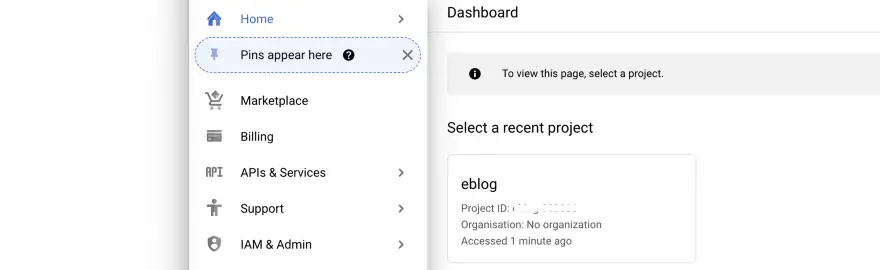
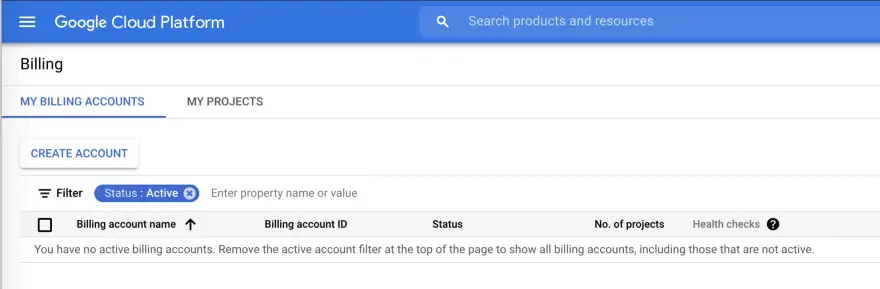
Google gives the new users a free $300 credit for 90 days to try the GCP suite, so even though you need to set up the billing, you won’t be charged if you stay within your free quota. But I would recommend setting up budget alerts to keep on top of your spending. You can permanently disable it during the development period and enable the app engine server on-demand with one click.
Now that we have a project with Google Cloud, the next step is to install the Google Cloud SDK so that you can perform actions from the command-line tool:
./google-cloud-sdk/install.sh
./google-cloud-sdk/bin/gcloud init
Update the component:
gcloud components update
2. Compute Engine
Secure and customizable compute service that lets you create and run virtual machines on Google’s infrastructure. (cloud.google.com/compute)
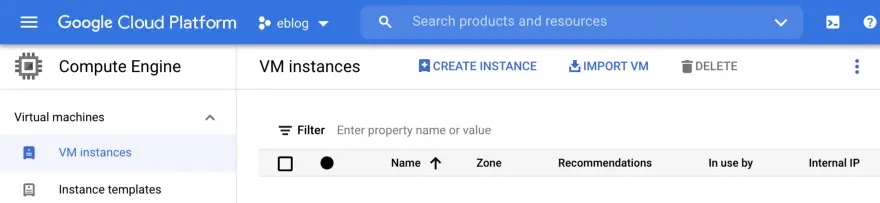
- Go to Google Cloud Platform > Navigation menu > Compute Engine > VM instance > Create Instance
- In the name field, enter the name of your VM machine, which should be globally unique. Next is to choose a machine type. If you are trying Compute Engine for testing purposes, then e2-micro would be enough. In the firewall section, choose Allow HTTP and HTTPS traffic.

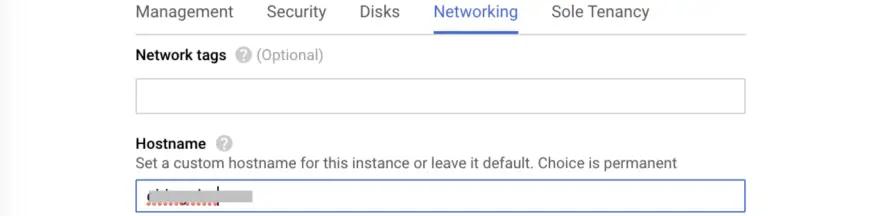
- Expand the Management, security, disks, networking, sole tenancy section, click Networking and add your domain (example.com) under Hostname (this step is optional).
Wait for a few minutes for your virtual machine to set up.
- Reserve static IP
Go to Cloud Platform > Navigation menu > Networking > VPC network > External IP addresses, change the IP address type to static

3. Deploy LAMP stack on your instance
A “LAMP” stack is a group of open-source software that is typically installed together to enable a server to host dynamic websites and web apps. This term is actually an acronym which represents the Linux operating system, Apache web server, MySQL database, and PHP. (digitalocean.com)
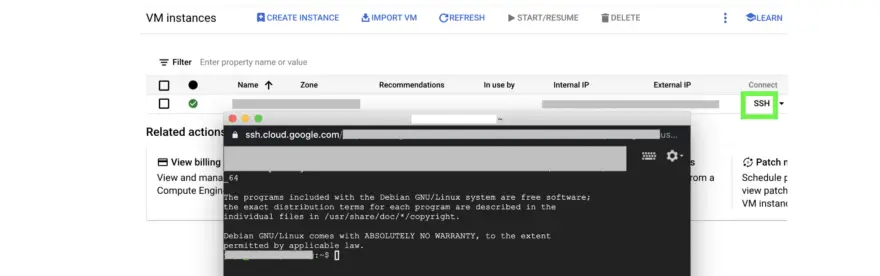
- Go to VM instance > SSH; will launch a terminal on a new page.
- Install LAMP
sudo apt-get update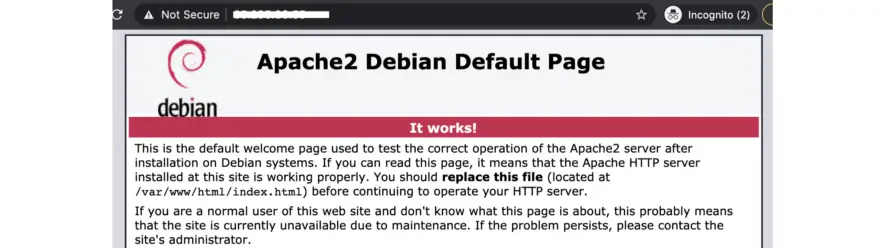
sudo apt-get install apache2 php libapache2-mod-php- Open a browser and enter HTTP://[your-external-ip-address]
- Add a file in the webserver root and browse to test Apache is working by entering HTTP://[your-external-ip-address]/phpinfo.php
sudo sh -c 'echo "<?php phpinfo(); ?>" > /var/www/html/phpinfo.php'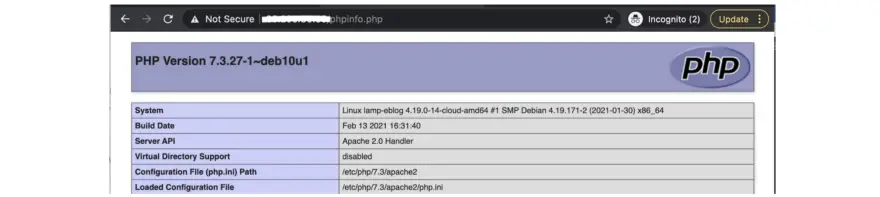
- Install MariaDB database on your instance and start the DB
sudo apt-get update
sudo apt-get install mariadb-server php php-mysql
sudo systemctl start mariadb
** at this stage, your site isn’t installed with an SSL certificate; therefore, connection via HTTPS will
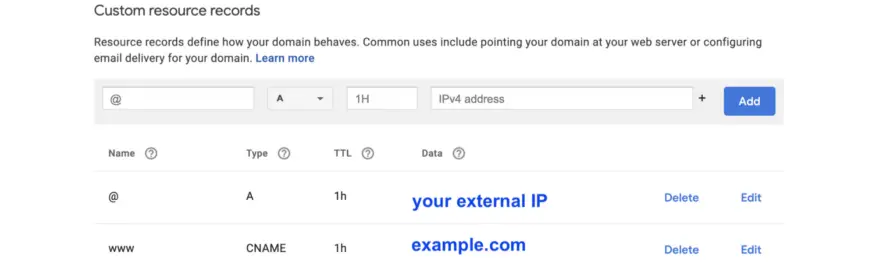
- Set up DNS mapping
It would be best if you mapped your domain from your domain hosting site. In my case, I purchased the domain from Google; therefore, I can bind it by going to Google Domain > DNS > Name Server > Custom resource records. Here you need to create an additional subdomain using “www.”
4. Create a Flutter WebApp
*Prerequisite: IntelliJ or VS Code IDE with Flutter build environment
Create a new Flutter project with Android/iOS/Web-enabled, or use your existing Flutter project if you have one. Run the following command, making sure you can build and view the web page locally with localhost:8080
flutter build web
Your Flutter project should contain a new folder called Build > Web, with index.html and main.dart.js file after running this command.
5. Deploy the WebApp on your server
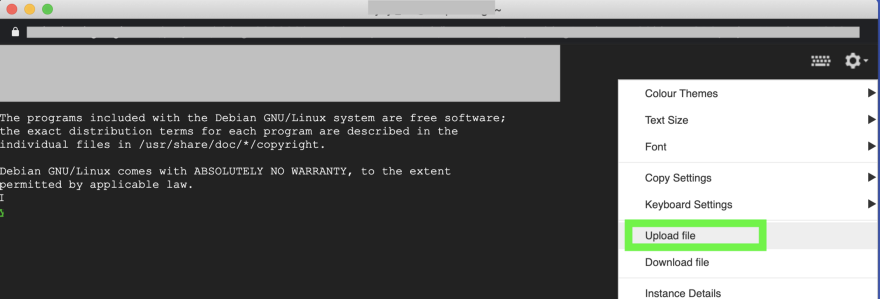
There are various ways to upload files from your local machine to a server; here, I will use the upload file function from the Google VM instance.
- zip the build/web/ folder from your local machine (web.zip)
- Go to your VM instance and click ssh > tools > upload file
- Install unzip in your VM instance
sudo apt-get install unzip
- Move web.zip to var/www/html
sudo mv web.zip /var/www/html
sudo unzip web.zip
cd web
sudo mv * ../
cd ..
sudo rm -r web
- Go to your site HTTP://[your-domain]

6. Secure the Apache server with an SSL certificate
Noticing that there is a triangle icon next to your domain indicates the site isn’t secure? This is because we haven’t set up the SSL certificate yet. I will use Let’s Encrypt, a Certificate Authority that provides free TLS/SSL certificates to encrypt HTTPS on web servers.
- Install Apache2
sudo apt update
sudo apt install apache2
sudo a2enmod http2
- Install Certbot and Let’s Encrypt SSL CERT
sudo apt-get install python-certbot-apache
sudo certbot --apache -m [YOUR-EMAIL] -d [YOUR-DOMAIN] -d www.[YOUR-DOMAIN]
** sudo certbot — apache -m [email protected] -d test.com -d www.test.com
Select option-2 to redirect all traffic over HTTPS.
Congratulations! You have successfully enabled https://test.com and
https://www.test.com
...
A new config file for the domain should be created
/etc/apache2/sites-available/your-domain-le-ssl.conf
- Enable HTTP/2 on Apache site
sudo vi /etc/apache2/apache2.conf
Add “Protocols h2 http/1.1” at the bottom of the file (without quotation mark), save and quit vi editor.
- Restart Apache
sudo systemctl reload apache2.service
Congratulations! Your site should work now with your domain.
☀️ 🌤 ⛅️ 🌥 ☁️ NEXT (and in no particular order) 🌦 🌧 ⛈ 🌩 🌨
- Domain, SSL, and Google Site ✅
- Host the site: App Engine ✅
- Host the site: Docker and Cloud Run ✅
- Host the site: Compute Engine and virtual machine ✅
- Storage and database
- Build the Flutter WebApp
- Google operations suite (Logging, monitoring, and debugging)