I recently bought a Raspberry PI HQ camera. I am always mesmerized by the sunsets in London. Therefore my first ever project with the Raspberry PI HQ was to try and create a beautiful time-lapse with the Raspberry PI HQ.
Lense options with the Raspberry PI HQ
When you buy the Raspberry PI HQ camera module, it doesn’t come with a lens.
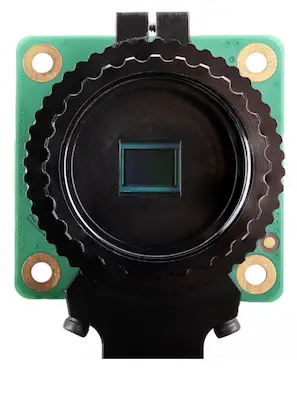
For £49.50, or $50 if you live in the USA, you only get the camera module.
You need to buy the lens separately. If you decide to buy the official lenses from Raspberry PI, you have two options:
- The 6mm 3MP Wide Angle Lens
- The 16mm 10MP Telephoto Lens
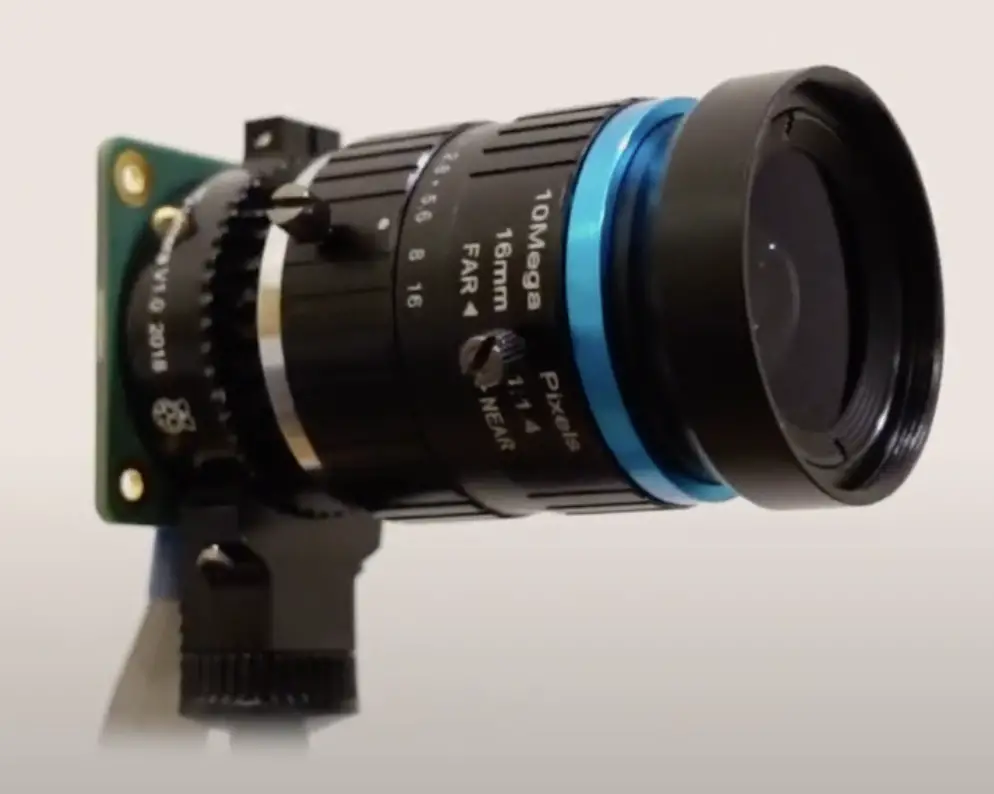
The 16mm 10MP telephoto lens was the one I went with, as I wanted to have the extra zoom capability. And you will see why I was so keen on this lense.
What does MP mean for a camera lens?
Why does the camera lens state the number of MP? Is it just a lens, nothing digital about it, right? So why state the number of MP?
That is quite a good question to ask and the same question I had when writing this article.
First a disclaimer, I am no expert in photography, but after reading some articles on the web and on StackOverflow, I am going to give you my “expert” opinion. Just kidding… whatever I say next, take it with a pinch of salt, and please feel free to correct me if you think I said something wrong.
It turns out that digital video cameras are much powerful than their old equivalent analog video cameras. They have a much wider angle of view and they can cover several times the area that an old analog video camera used to be able to cover.
For that reason, these cameras are much more demanding in regard to the camera lens they support. Because they have a much bigger zoom capability any imperfections in the lense are immediately obvious. The more MP a digital camera sensor has, the more obvious these imperfections are.
For this reason, manufacturers of lenses will normally specify how many MP the lens supports. For instance, a 3MP lens should support a camera with up to 3MP in resolution. And a 10MP lens will support a camera with a resolution up to 10MP. All this tells you is that the manufacturing process for this lens is good enough to support camera modules with up to the number of MP for which the lens is rated for. Be careful though. The MP value is far from precise.
I would recommend some further reading on this. I have included a good article and a StackOverflow thread that should hopefully clarify things for you.
Installation of the Camera Lens
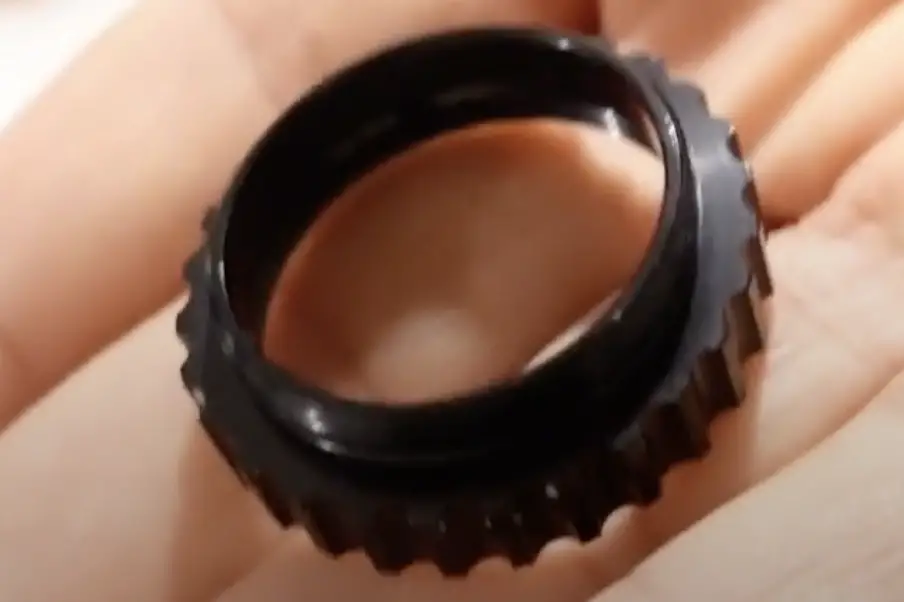
If you bought the 6-mm lens you can screw it directly into the camera module. On the other hand, if you bought the 16-mm lens you will need the C-Mount adapter that is supplied with the lens. If you forget to use it, just like I did, you will know that it is missing because your video image will be forever out of focus, no matter what you do.
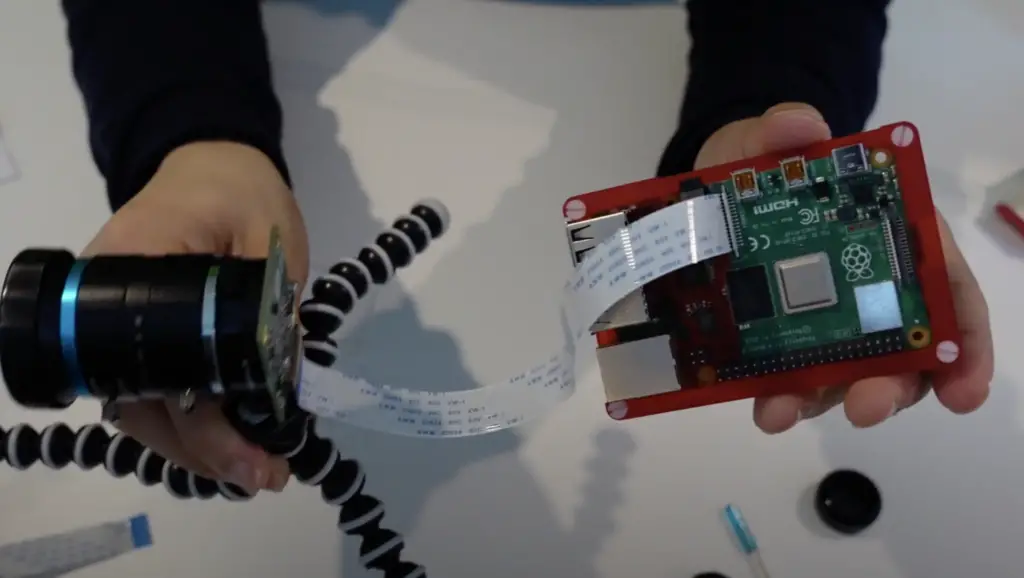
Connecting the Raspberry PI HQ Camera to the Raspberry PI
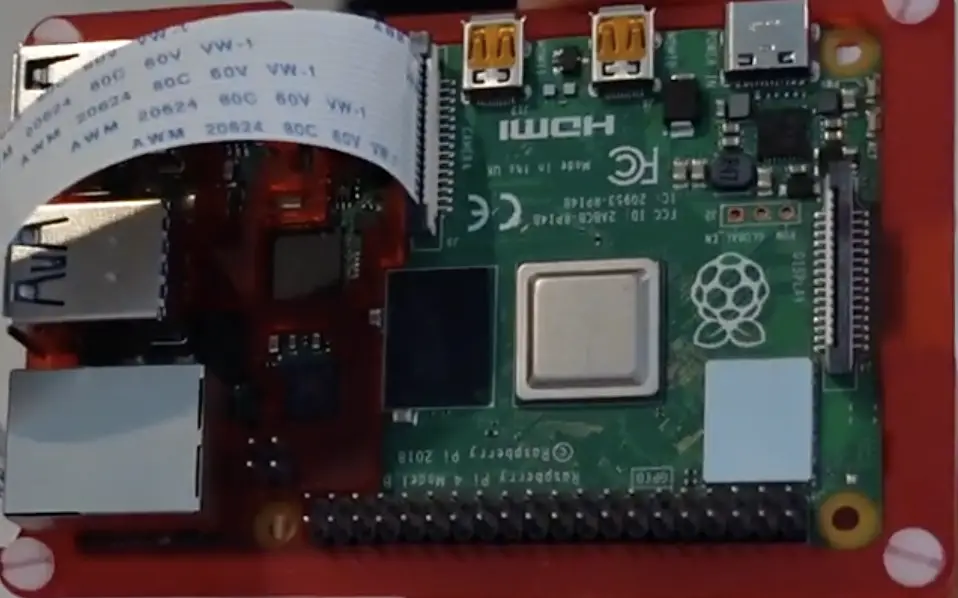
The next step is to connect the camera to the PI using the blue and white ribbon provided. You can connect the Raspberry PI HQ Camera to all versions of the PI except that for the PI 0 you need a small adapter.
You need to connect the ribbon to the CSI connector to the Raspberry PI board. The blue side facing the back of the board.
Once you have connected the PI Camera to the Raspberry PI, it is time to switch on the PI and do some setup.
Once the Raspberry PI is powered on, open a terminal window.
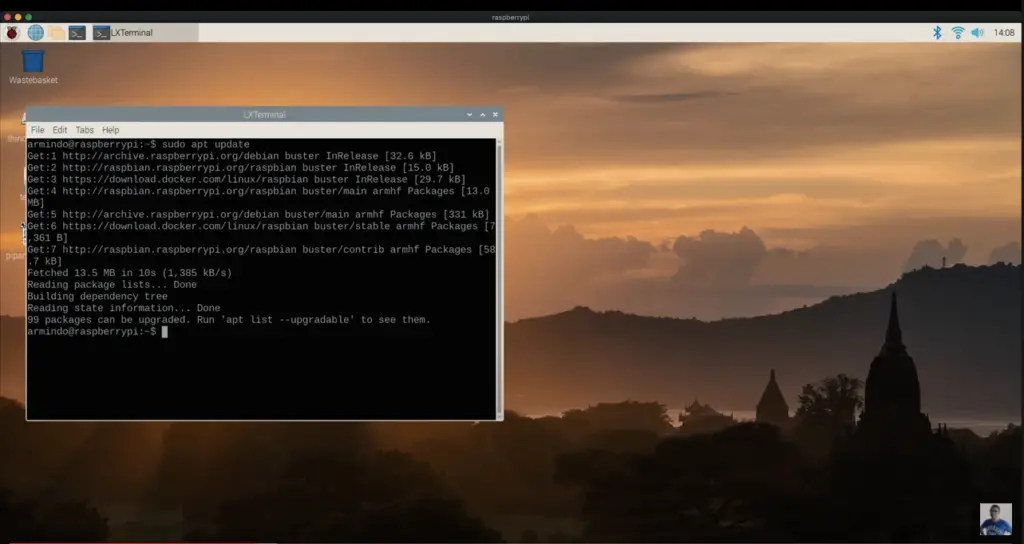
And we execute:
$ sudo apt update
....
followed by
$ sudo apt full upgrade
....
This is to ensure that the Raspberry PI is running the latest version of Raspbian and it has all the latest patches/updates available to date.
After this, we need to execute also in the terminal
sudo raspi-config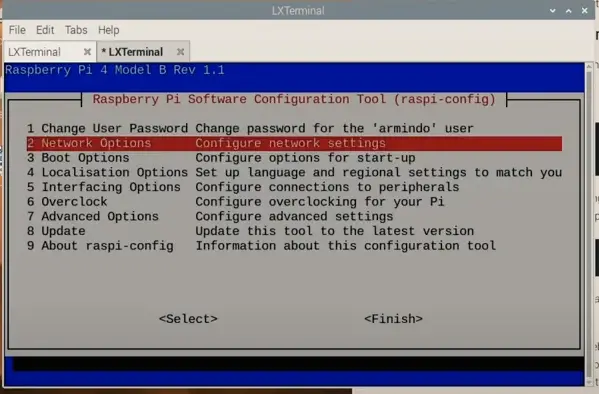
You will need to select the Interfacing Options–P1 Camera. Then select Finish and Reboot.
Taking a picture using Raspistill
Now the Raspberry PI HQ Camera should be set up, let’s do a quick test with Raspistill. Let’s open a terminal window again and try the following:
raspistill -v -o test.jpgIn my case I got this picture:
Nothing to worry about, the lens is out of focus. Now we know the camera works, we can try to focus.
The best way to do that, is to open a live view of the camera so we can adjust the focus accordingly.
Run the following command as the Pi user:
$ raspistill -t 0We are passing -t 0 so that the window popup with the view of the camera remains open indefinitely.
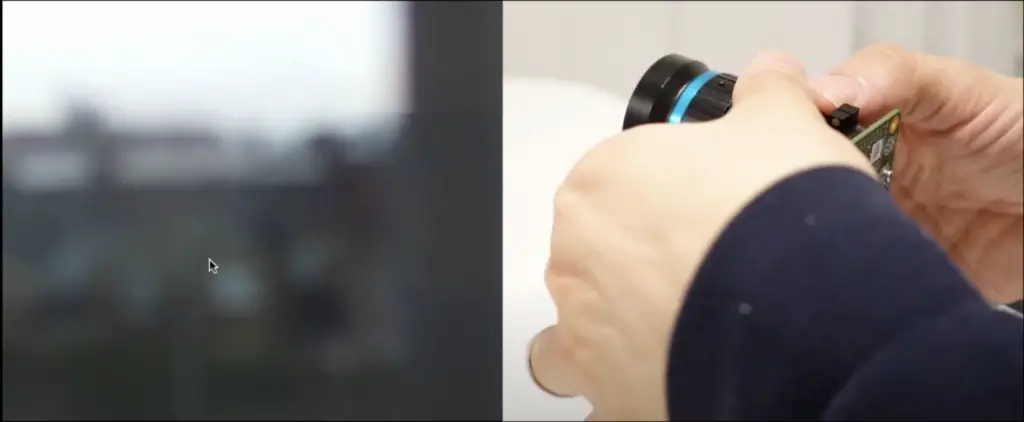
Unscrew slightly the screws in the lense, which will allow you to set first the Aperture, which controls how much light goes through the lense. Make sure it is bright enough.
Once you have set the Aperture, you can change the focus of the lens until the target you want to film becomes clear.
Creating a time-lapse with Raspistill
Let’s get down to business. Now that we have done the hard work of setting up the PI Camera, it is time to create our time-lapse. And you won’t believe how easy it is.
You need two tools to create a time-lapse for the PI:
- Raspistill, already installed!
- Ffmpeg, also already installed!
Raspistill is a very versatile command with lots of options for a different number of scenarios. We are going to be relying on the -tl parameter, which unsurprisingly stands for time-lapse. There are a few other parameters that I will explain next.
Duration of time-lapse(-t)
To create a timelapse, first, think how long your timelapse is going to be recorded for. Is it for a few minutes, for a few hours, or even for days?
Convert whatever time-lapse you need to the number of milliseconds. That will be our -t parameter
The interval between photos(-tl)
In order to create the time-lapse you need to specify how far apart each picture should be. Typically this interval will increase the longer the timelapse lasts. For instance, if you are doing a timelapse for a month, you want to take a picture every hour. Or if you are doing a timelapse only for 24h you will want to take pictures seconds apart. For my example, I decided to go with 2s.
Name of each image file generated(-o)
We need to choose a name for each image to be generated and also a format for the image counter. Remember that we are generating thousands of images. I went with a simple prefix of image and 4 digits for the image counter(%4d). For instance the first image will be image0001.jpg, and so on.
Width and Resolution(-w and -h)
Specifying a width and height is optional for the timelapse. If you don’t specify it, it will use the maximum resolution available, and each image file will be large. Unless your Pi has a lot of free space, specify the resolution of the video time-lapse that you are planning to create. In my case, I went with 1920x1080p.
The final command will look like:
$ raspistill -t 864000000 -tl 2000 -o image%04d.jpg -w 1920 -h 1080 The command above will create a timelapse with a total duration of 24 hours and an interval of 2s between each picture. All the images will have a 1920x1080p resolution.
After the time-lapse has finished, from inside the folder where the timelapse pictures have been generated, run the following command in the terminal:
$ for f in *.jpg; do echo "file '$f'" >> mylist.txt; doneThis will create a text file with the file names of every single photo in a text file as a sequence. This text file is important for the next step, in which we create the video of the time-lapse using ffmpeg.
ffmpeg -r 320 -f concat -i mylist.txt -r 20 -vcodec libx264 -vf scale=1920:1080 -t 10 output.mp4- -r 320 is how fast we process the pictures in the timelapse. A higher value will make the timelapse go faster and a lower value it will go slower.
- -f concat, basically tells ffmpeg to concatenate all the images in the list given by -i
- -r 20 the output framerate of the timelapse
- -vcodec the video codec we ue
- and -vf scale controls the resolution
- -t controls how many seconds of video we want to create.
And that is it, after you run ffmpeg it is time to enjoy the timelapse.
If you want to see how my timelapse looks like, you can watch my latest YouTube video:
Resources:
https://www.raspberrypi.org/documentation/usage/camera/raspicam/timelapse.md