Since starting getting into Deep Learning I have found that increasingly I need to access a server with a GPU. Not any GPU. A GPU that is capable of understanding CUDA. As a Macbook PRO user with only an AMD GPU, that automatically disqualifies me. Therefore after finding myself frequently going on Google Colab just to be able to get access to an NVIDIA GPU, I decided that it is time to build my FIRST deep learning PC.
If you don’t feel like you want to tackle building your own system, you can always check out a company like SabrePC. They currently offer a pre-built deep learning workstation starting at $3,700 powered by up to 4x NVIDIA CUDA-enabled GPUs that ships pre-installed with the latest deep learning software stack and includes a 3 year warranty.
Why Deep Learning requires an NVIDIA GPU?
It is a bit of a long story, and I will try to cut it short. The main reason that you need an NVIDIA GPU is because of CUDA. CUDA is a proprietary programming framework developed by NVIDIA that facilitates massive parallelization of computing tasks using the cores in an NVIDIA GPU. Wait a minute, if CUDA Is all about parallelization computations, why does it need a GPU? Why not just use the CPU instead?
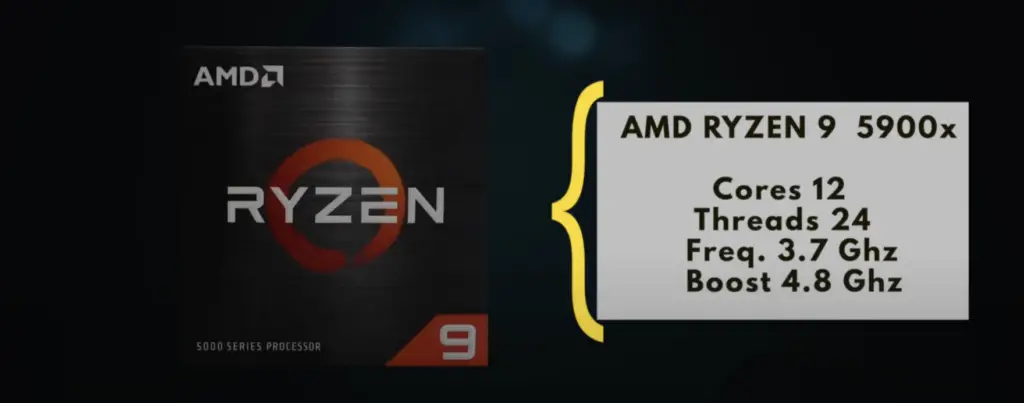
The AMD Ryzen 5900X that I bought, has 12 CPU cores, and with hyperthreading, it can run 24 threads concurrently. That might seem like a lot. But consider that a GPU like the Nvidia RTX 3070 has 5888 CUDA cores. Having 5888 CUDA cores means that the GPU can process 5888 parallel vectorized execution units.
Why OpenCL is not used for Deep Learning, instead of CUDA?
You might have heard of OpenCL an open-source standard for parallel programming cross-platform which has relatively wide GPU support(NVIDIA, AMD, Intel, etc). I don’t even mention Apple, who used to support OpenCL but since have deprecated it in favor of the Metal API.
OpenCL at first sight would be the perfect replacement for CUDA as an open-source standard, in order to allow deep-learning with Tensorflow on AMD GPUs and not only NVIDIA. But Tensorflow and Pythorch haven’t yet implemented OpenCL, and probably they never will. Why you might ask? I can only speculate based on my limited research. The first is legacy. Tensorflow for instance is full of dependencies on CUDA and cuDNN. Performance is another problem. Performance of CUDA is better than with OpenCL.
I encourage you to read one of the oldest threads open in the TensorFlow github repository(Issue 22). The fact that this issue was opened in 2015 and is not yet closed, hopefully, will convince you that NVIDIA/CUDA is the only way to go for now.
CPU Cores are different from GPU Cores
Quite rightly you might ask, why not just have a GPU? Who needs the CPU with such tremendous power available in a GPU!?
Actually, CUDA cores are not really the same as CPU cores. A CPU core is capable of fetching instructions, doing computations, replacing values in memory, releasing memory, writing to disk. A CUDA core on the other hand is only capable of processing computations in a single row of a vector. Much more limited than what a CPU core can do. But that doesn’t make it any less important to Deep Learning.
Deep learning is all about doing large searches and operations in the vector space. CUDA parallel programming main concept is that you can divide any computation work over a large vectors per row, so you can distribute it more efficiently across different cores.
NVIDIA dominates deep learning because Tensorflow and Pythorch both are implemented on top of cuDNN. cuDNN which was also developed by NVIDIA and is built on top of CUDA, is a library of GPU-accelerated primitives for deep neural networks.
Nvidia has the dominance of Deep Learning because of the hegemony of CUDA, a proprietary programming framework. Because Nvidia was the first one to come up with a solution needed by data scientists to process large amounts of data.
Why I don’t believe that the Apple M1 chip is the solution
In the launch of M1, Apple made a big deal of their support for TensorFlow. I was also intrigued about this as currently out of the box Tensorflow is built on top of CUDA/cuDNN.
It turns out that Apple just forked the official TensorFlow repository to have direct integration with the M1 Neural Cores. This fork is available here.
I normally do a quick quality check of a github repository by taking into account two factors: number of commits? and number of open issues? As of today there are 104 Open issues, and only three commits in total, and none since the 10th of December 2020. If I saw that with any other open source project, for me that project is dead.
There are too many open questions yet before we can take Apple seriously. They are famous for wanting to trap users in their walled garden. To suddenly have an interest in Tensorflow, an open-source project initiated by Google is too good to be true.
Also, will they be keeping up with the latest versions of Tensorflow? Time will tell, until then I am not touching the M1 for deep learning.
Is RTX-3070 with only 8GB DDR4 enough for machine learning?
In an ideal world, I would buy an RTX-3090, a beast of a graphics card for machine learning. It has 24GB GDDR6X, 10496 CUDA cores, and a BOOST clock speed of 1890MHZ. This is, of course, is ideal for machine learning.
Considering the fact that I am a beginner in machine learning and, it is pretty much impossible to find any RTX 3000 series graphics card in stock, and that one RTX 3090 series card costs almost as much as a whole computer. My choice was easy to make. I bought the only card I could find. The RTX 3070 series. And I am very happy to have one, considering that most people worldwide are unable to buy any RTX card at all.
Machine Learning in the Cloud
Most likely the more in-depth I get into machine learning, the more I will find that the 8GB of memory limit is too much of a limitation. But I have a plan for that. The cloud! If I only need to train a large ML model once in a blue moon and I know that it will take a little bit more resources, then it makes sense to consider doing my training on AWS or GCP.
With Amazon Sagemaker I can rent a server with an Nvidia T4 GPU with 24 GB of memory for as little as $0.70/hour. Or as much as $4/hour for a server with 4 GPUs and 48 vCPUs. If you want to see how it works to train your ML jobs on Amazon Sagemaker, I have done a recent video on my Youtube channel where I complete training of a TensorFlow model using these two Sagemaker instances. Check it out:
Best CPU for Machine Learning
When picking the best CPU for Deep Learning, it is better to have a higher number of cores rather than having a high clock speed. The idea is that the higher number of parallel jobs you can start, the better it is for Deep Learning. This criterion is the opposite of gaming, in which it is better to have a higher clock speed than more cores.
For the CPU, I went with AMD Ryzen 5900X, a CPU with a base clock of 3.7GHZ and a max boost clock up to 4.8GHZ, 12 cores and 24 threads! Plenty enough firepower for a beginner deep learning PC!
Memory(RAM)
Since I am using this PC for a variety of tasks, not just deep learning, I went with 32GB of RAM. A rule of thumb is to ensure that the amount of RAM is no lower than the amount of memory available to the GPU. For instance, if my GPU had 24GB of memory, the amount of RAM should match that value at least. Since memory is cheap enough I went with 32GB 3600 MHZ memory.
My first PC Build
There is something special of putting everything together and making something work at the end.
Building a custom PC is a massive hobby. You only need to search on Youtube for PC builds to realize its popularity, and also how serious it is taken at the same time. Aesthetics are as important as specs. PC builds will often have RGB lighting, clear glass cases to make the PC almost like a centerpiece in the house. Rather than hiding, you must display your PC in all its glory, with its RGB light show.
I tried to learn as much as possible about how to build a PC and all its intricacies. So what you will read next is the result of extensive research on Youtube, gathering knowledge from the most popular PC building Youtube channels.
My purchase list
Now let’s go through all the components in my build. Note that I have created some affiliate links, so if you buy any PC components with the links below I will get a small contribution but the cost of the components to you will be no higher than what Amazon would charge you.
AMD Ryzen 5900X CPU
Gigabyte GeForce RTX 3070 EAGLE OC 8GB Graphics Card
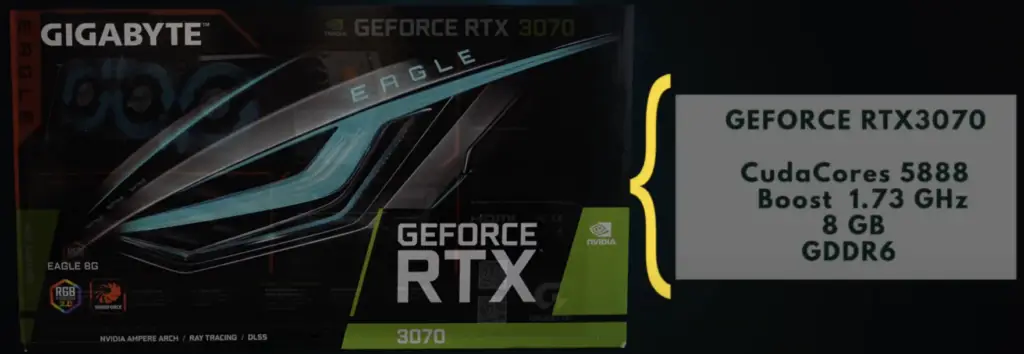
The model I found unavailable in the US store, but below is a similar model with slightly higher specs:
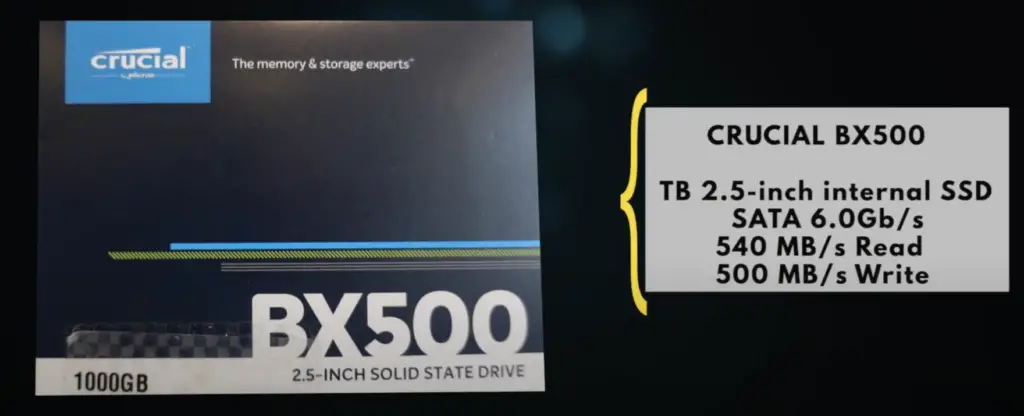
Crucial Solid State Drive 1TB
ASUS ROG Strix X570-E Gaming ATX Motherboard, AMD Socket AM4

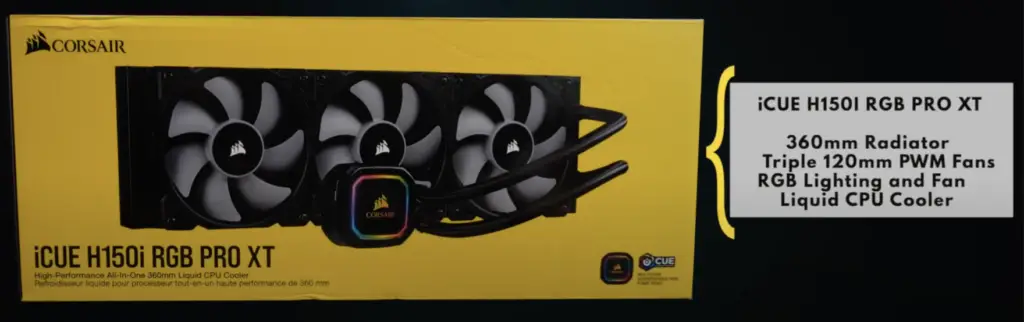
Corsair iCUE H150i PRO XT RGB Liquid CPU Cooler (360mm)
PC Case — Phanteks Eclipse P600S
Memory — Corsair Vengeance RGB Pro 32GB (2x16GB) DDR4 3600— Black

US Amazon Link: https://amzn.to/3c1PuVC
UK Amazon Link: https://amzn.to/2Y5mJzm
Power Supply — CORSAIR CX750F RGB — 750 Watt, Fully Modular

Highlights of My PC Build
Installing the Ryzen CPU on the motherboard
One of the first steps in a build is to install the CPU in the motherboard.
Don’t be tempted to install the motherboard in the case first. It is highly recommended to install all the components that you can onto the motherboard first.
This is because when you place the motherboard into the PC case it makes it much more awkward to install anything on top of it.
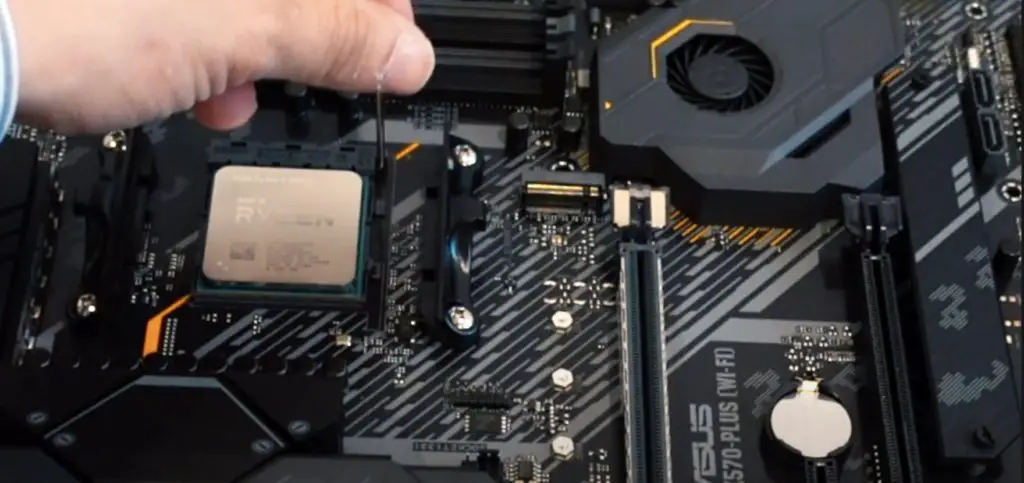
Installing an AMD CPU requires a lot of care not to damage the pins underneath the CPU. Try not to touch the bottom of the CPU, pick it by the sides. Find an arrow that should be at the bottom left of the CPU and match it to the arrow in the motherboard. A word of warning, it is. a rather small arrow!
Before you can install the CPU, you need to release a small lever in the CPU slot. Once you do that you can place the CPU in the correct direction and you can use the lever to secure the CPU safely to the motherboard.
If you have a CPU Air cooler rather than a Liquid cooler like in my build you should also install it now on top of your CPU. But don’t forget the thermal paste(this can be done a bit later, just before installing the CPU liquid cooler)!
If you have an M.2 drive, this is also the best time to install it otherwise it will get awkward!
Installing Memory(RAM)
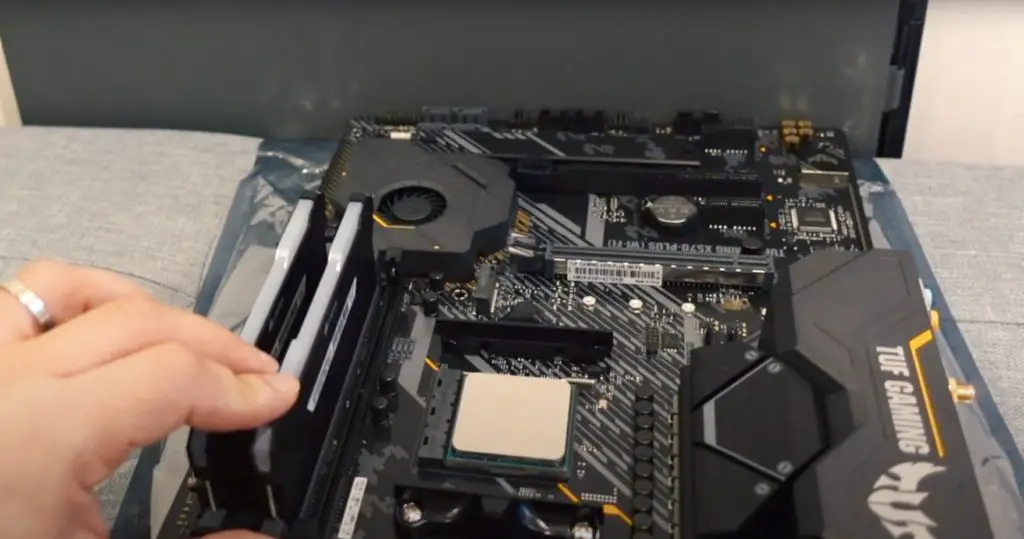
Installing memory is less awkward but it is still a good idea to install it early. In total, you have 4 slots for memory in most motherboards. Since I have only two memory DIMMs I need to install the memory DIMMs in slots of the same color, i.e. one slot spacing apart. Whether your first DIMM uses the first or second slot depends on the motherboard and if you are not sure, you should check the manual.
Installing the Motherboard in the PC Case
With the main components attached to the motherboard, it is time to install it in the PC case. This can be a bit awkward, so do it carefully. Also, before you start, check that you haven’t forgotten to install the IO shield.
Depending on the motherboard, the IO shield might be or not, already installed in the motherboard. Do as I say not as I did. I ended up forgetting the IO shield and had a whole load of trouble removing and installing the motherboard again.
I found it a bit awkward to align the motherboard to the screwholes, but eventually I managed to fit it in.
Getting a motherboard that doesn’t support Ryzen 5000 without a bios update
One of the biggest setbacks in my build was to buy a motherboard that wouldn’t recognize my Ryzen 5900X CPU. The motherboard I bought initially was the ASUS TUF Gaming X570-PLUS (WiFi) and it didn’t recognize my Ryzen 5900X CPU. But the error was not obvious to diagnose. When doing a power-on test(See my video for details) I saw a yellow LED which indicated a problem with the memory(RAM). It turned out that the yellow LED was because the bios wouldn’t recognize the Ryzen 5000 CPU.
Because there was no USB bios flashback in this motherboard, so I ended up having to return it and buy a better motherboard with USB Bios flashback support.
Do a power-on test before any cable management!
This is an important tip. There is no guarantee that any of the components you bought will work out of the box. So test your build at the earliest opportunity. My build is proof that things don’t always go according to plan.
Finally, watch my full build on Youtube: